content connector client 3.x
This topic is valid for memoQ TMS 9.8 or newer and content connector client version 3.x. Documentation for other versions: 1.4, 5.x
memoQ content connector (also called content connector server) is a software module that enables memoQ TMS to import source-language content automatically, without human intervention. Through the content connector, memoQ TMS can receive content from various sources such as file folders, version control systems, or content management systems in general. In addition, memoQ TMS can also watch for changes: through the content connector, memoQ TMS can check if the content source contains new or updated materials.
This is useful if there is a customer who maintain text in a content source, and that text needs to be translated by an independent translation company or translator. In this case, the customer needs to provide access to its content source (which never leaves their server). The translation provider will use memoQ TMS to connect to the content source, and retrieve the source-language materials. When the translation is finished, memoQ TMS will send back the finished translation to the content source. Both the customer and the translation provider will benefit from this setup:
- The customer does not need to hand off the translation as such: all the customer needs to do is provide access to the content source they use anyway. The finished translation does not need to be 'implemented' either: the translation is created in the required format, and at the right location: it is immediately ready to use (and release if necessary). Of course, this is an ideal scenario: real-life configurations will still require conversion or at least copying, which is somewhere in between manual import/export and full automation.
- In turn, the translation provider will not need to process the source content manually, and they won't need extra technical effort to 'deliver' the translations either.
To learn more about the content connector: Read the What is the memoQ content connector? topic.
To set up a memoQ content connector: Read the Deploy memoQ content connector topics.
The content connector client is a desktop app that enables translation providers to connect to content connectors on customers' memoQ TMSs.
Needs to be installed separately: Before memoQ 9.4, the content connector client was installed with the memoQ desktop app. Now it can be downloaded from memoQ's Download page (scroll down and click the Tools and utilities tab).
Using the content connector client, you can create and maintain connections to content sources on a content connector server. Most of the time, this means connections to file folders that are updated by external users.
The content connector client can manage exactly one content connector server at a time. The content connector server does not have to be on the same computer as the content connector client.
How to get here
To use the content connector client, you need to download and install it on a computer.
- If you plan to use the content connector client on the content connector server itself: Log in to the server computer through Remote Desktop. Download and install the content connector client if it is not installed yet.
- Press the Windows key to open the Start menu or the Start screen.
-
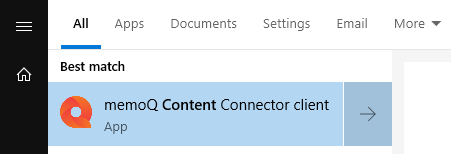
Type the word 'content'. From the list of matches, click memoQ content connector client:

-
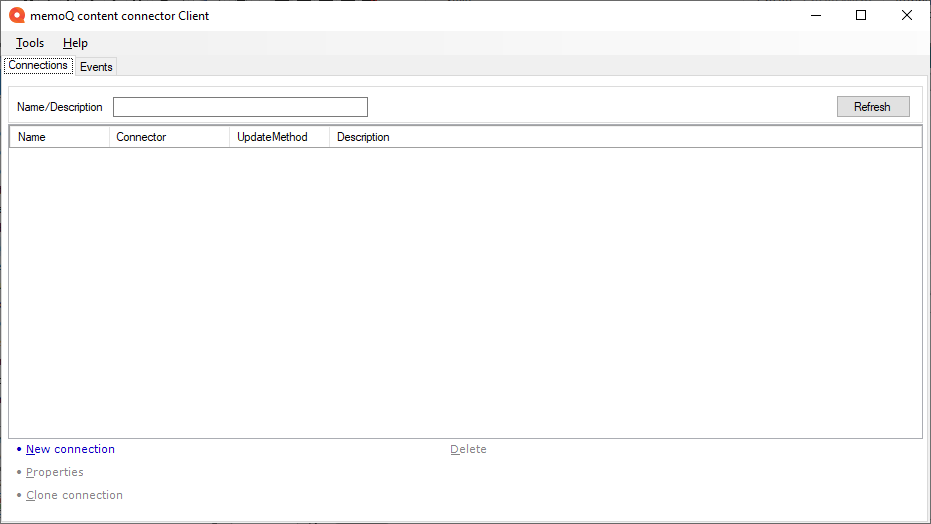
The memoQ content connector client window opens:

What can you do?
Before anything else, connect to the content connector server.
If you run the content connector client directly on the server computer, and the content connector server uses the default port (8080), then you do not need to set up the connection.
If you did not start the content connector client on the server computer itself, you need to set up the connection to the content connector server:
- From the Tools menu, choose Settings. The Settings window opens:

- In the Server address box, type or paste the internet address of the content connector server, together with the port number. Make sure the content connector server accepts connections from your network, and the port you set is open on the server. If there is a problem with this, contact your IT personnel.
- If the content connector server uses the HTTPS protocol and an API key, paste the API key in the API key box. For the API key, ask the content connector server's administrator.
- Click OK. The content connector client will try to connect to the server. If it is successful, the existing events appear. If not, you will get an error message.
Create a new connection to a folder, a Git repository, or a Subversion repository:
At the bottom of the window, click New connection.
To learn more, read the New connection topic.
Create a new connection by copying the settings from an existing one:
-
Select the existing connection.
-
At the bottom of the window, click Clone connection.
-
The Clone connection window opens. This is the same as the Connection properties window, but it creates a new connection.
-
Make sure you change the name in the Name box.
To learn more, read the Connection properties topic.
View or change the settings of an existing connection:
-
Select the existing connection.
-
At the bottom of the window, click Connection properties.
To learn more, read the Connection properties topic.
If the content connector server runs for a very long time, its database can grow so big that the server becomes unusable. To avoid this, you should purge the database regularly.
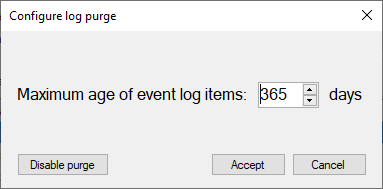
- In the Tools menu, click Configure log purge.
- In the Configure log purge window, set how often you want to purge the database.
- Click the Accept button.

When log purging is on, you can click the Disable purge button to turn it off. This is not recommended.
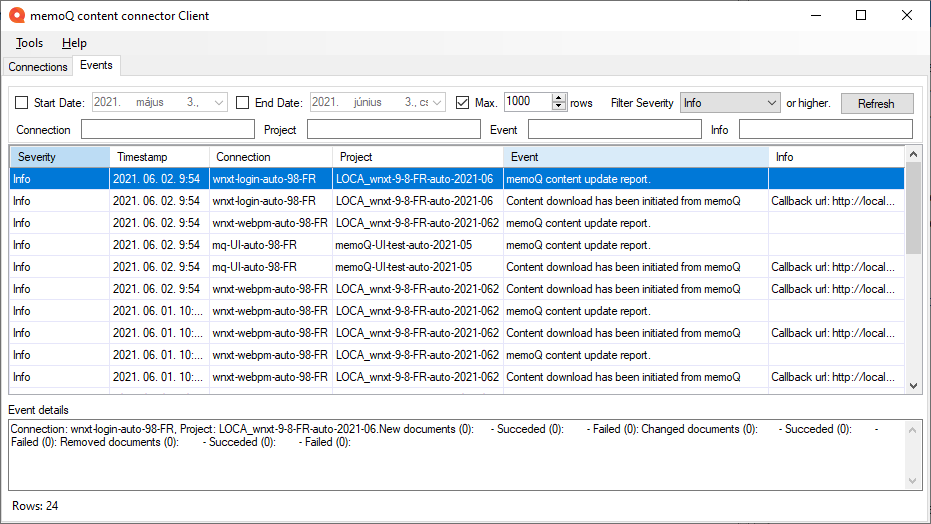
In the main window, click the Events tab:

Using the upper part of the window, you can filter
- for events that happened over a specific period of time,
- for events of a specific type (Info/Error)
- for events that belong to a specific connection or project.
To filter the list, fill in the fields you need, and click Refresh.
If you need the newest events, simply click Refresh.
When you finish
Close the memoQ content connector client window.
Test the connection: Connect to your memoQ TMS, and create a new online project from a template, using this connection.