Install content connector
This page describes how you can install memoQ content connector on a server computer.
-
In a web browser, open memoQ's Downloads page. Under the Latest release section, click the content connector tab.
-
When the download finishes: In the server computer's Downloads folder, double-click the file called memoQ-content-connector-(version-number).exe.
-
Windows may ask you to confirm to run the program. Click Yes or Run.
-
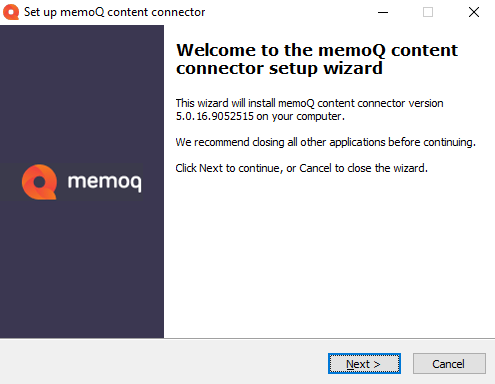
The Set up memoQ content connector window opens:

-
Click Next.
-
In the License agreement step, accept the license agreement, and click Next.
-

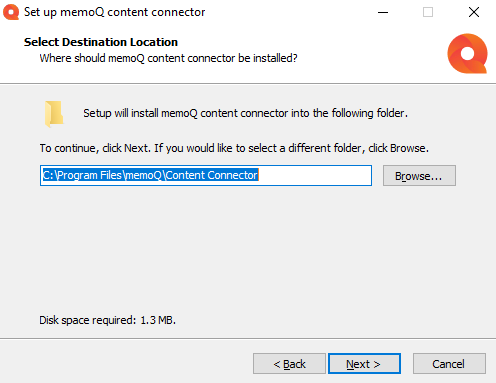
In the Select Destination Location step, change the default installation path if needed, then click Next.
-
If an earlier version of the content connector server or the content connector client is installed on the computer, a warning recommends you to remove them. Click OK to close the message.
-

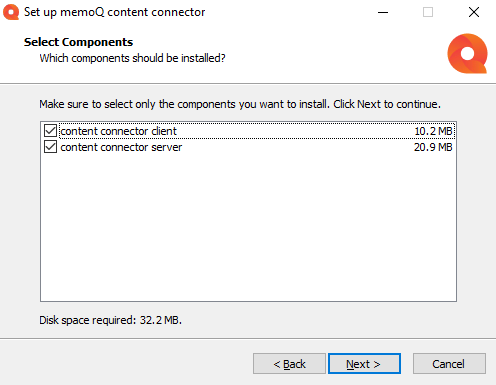
In the Select Components step, choose which components you want to install.
-
Click Next. The setup program installs the selected components.
-
When the installation is done, click the Finish button to close the setup wizard.
Installing a custom content connector module: If memoQ Business Services created a content connector for your own special needs, you get an installer script with the connector. To install your connector: Run that script on your memoQ TMS computer. The connector will be installed in a separate folder under C:\Program Files\memoQ\content connector.
No separate upgrade or repair action anymore: To repair content connector, simply install the same version again. To upgrade content connector, install the new version.
To remove content connector from the computer: Open the Windows Control Panel, and click Programs and features. Select memoQ content connector and above the list, click Uninstall.
After you install memoQ content connector, you need to activate it.