My tasks - Online tasks
This page shows the translation and review tasks that project managers assigned to you on the memoQ TMS.
Sometimes you see package tasks here, too: If your user on that memoQ TMS can receive both online and package tasks, your undelivered package tasks will also appear here. You can work on them without importing the packages into memoQ on your computer. Before you do this, ask your project manager.
How to get here
- You receive a web address (URL) from your customer. Open this address in a web browser. Normally, this will look like https://memoqserver.company.com/memoqweb or https://memoqserver.company.com/memoqweb/webtrans.
-
Sign in with the user name and password you received from your customer.
Faster after first time: If you open memoQwebtrans for the first time - or for the first time after a longer period -, it may take longer to open.
-
If memoQweb does not show the webtrans page, click the webtrans icon on the left sidebar. The webtrans page opens, with the list of documents that were assigned to you in online projects.
What can you do?
Open a document for translation
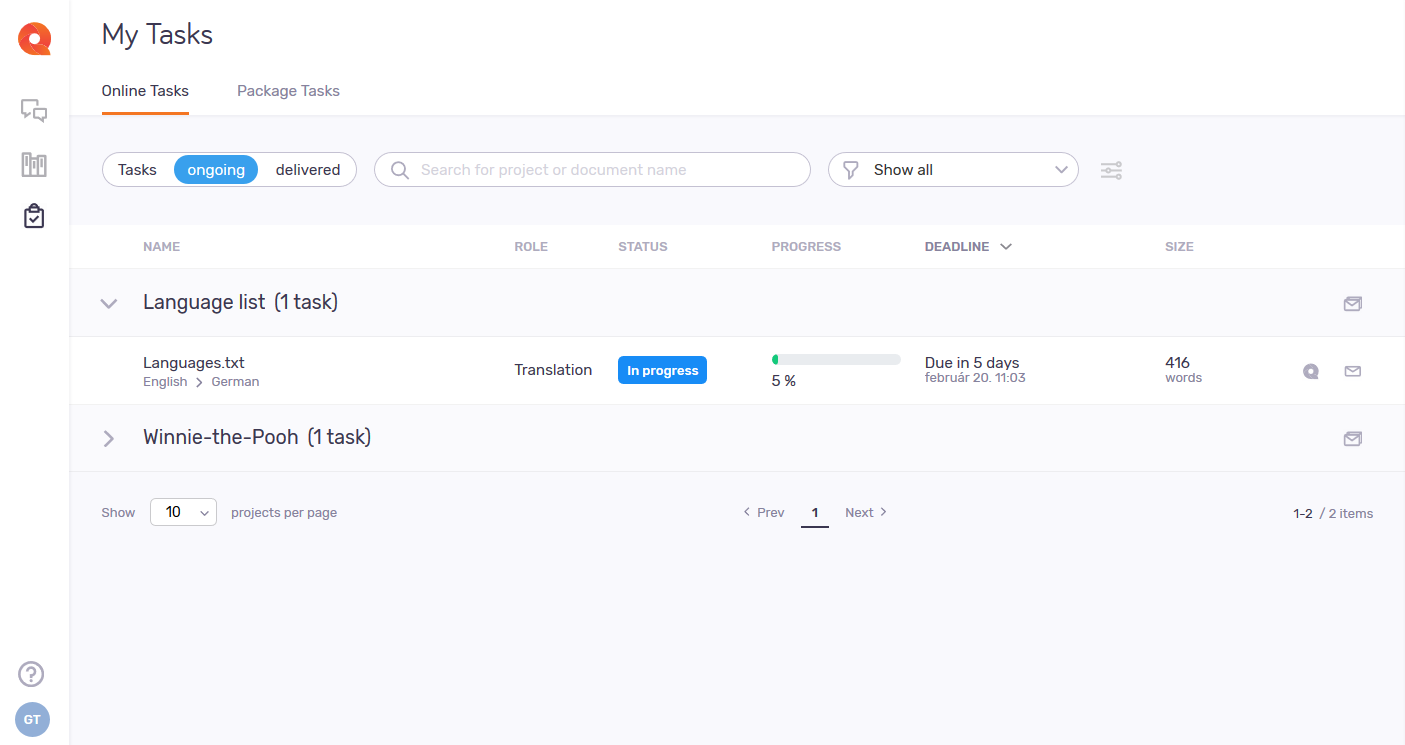
The page shows your tasks grouped by project.
First, click the project that the document belongs to, then click the document's name. It opens on a separate browser tab, in the webtrans translation editor.
After finishing your task, close that browser tab.
To open the document in memoQ TMS: in the document's row, click the Check out project in memoQ ![]() icon.
icon.
To do this, you need to have memoQ TMS installed on your computer.
See statistics for a task
To see the latest statistics report for the task (if there is one): Click the Statistics ![]() icon.
icon.
See discussion topics related to a task
If someone opened a discussion topic for this document (that is, not a segment in the document), you can click the Discussion ![]() icon to go to the Discussions page.
icon to go to the Discussions page.
Search for a document.
Search for a task. Filter or sort the list.
To search the list: Type something into the search bar above the list. Press Enter.
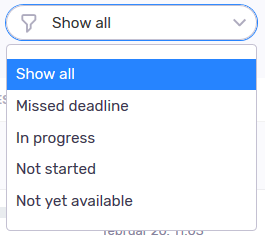
To filter the list: Click the Filter ![]() icon in the dropdown that says Show all. Choose a status from the list:
icon in the dropdown that says Show all. Choose a status from the list:
![]()
The list now shows only the tasks with that status.
The list now shows only the documents with that status.
Change how this page looks
At the top of the screen, click the Customize view ![]() icon next to the filter dropdown. The Customize view pane opens.
icon next to the filter dropdown. The Customize view pane opens.
To see the documents' path before the file names, check the Show document paths check box.
To show projects in a flat list: Clear the Group by projects check box.
To choose the unit of
To show or hide columns in the document list: Check or clear the Number, Name, Target language,
Deal with FirstAccept tasks
FirstAccept tasks are always at the top of the list, in a separate section.
How does it work?
A group of users is assigned to one or more documents in an online project - they can accept or decline. The first user who accepts the task, gets it. Which means, it disappears from the task list of all the other users, and everyone receives an e-mail.
To accept a task: In the task's row, click the Accept ![]() icon. The task is moved down to the task list.
icon. The task is moved down to the task list.
To reject a task: In the task's row, click the Reject ![]() icon. The task is removed from the list.
icon. The task is removed from the list.
Deliver a completed document
In the document's row, click the Deliver ![]() icon.
icon.
To deliver all documents in a project: In the project's row, click the Deliver all documents ![]() icon.
icon.
Open a document
The page shows your tasks grouped by project.
First, click the project that the document belongs to, then click the document's name. It opens on a separate browser tab, in the webtrans translation editor.
After finishing your task, close that browser tab.
To open the document in memoQ TMS: in the document's row, click the Check out project in memoQ ![]() icon.
icon.
To do this, you need to have memoQ TMS installed on your computer.
See statistics for a task
To see the latest statistics report for the task (if there is one): Click the Statistics ![]() icon.
icon.
See discussion topics related to a task
If someone opened a discussion topic for this document (that is, not a segment in the document), you can click the Discussion ![]() icon to go to the Discussions page.
icon to go to the Discussions page.
Search for a document.
Search for a task. Filter or sort the list.
To search the list: Type something into the search bar above the list. Press Enter.
![]()
The list now shows only the documents with that status.
Change how this page looks
At the top of the screen, click the Customize view ![]() icon next to the filter dropdown. The Customize view pane opens.
icon next to the filter dropdown. The Customize view pane opens.
To see the documents' path before the file names, check the Show document paths check box.
To show projects in a flat list: Clear the Group by projects check box.
To choose the unit of
To show or hide columns in the document list: Check or clear the Number, Name, Target language,
When you finish
Close the browser tab where you opened webtrans.