|
The Translation memory editor enables you to edit your translation memory directly. You can also edit a translation memory entry directly in the View or edit TM entry dialog invoked from the Translation results pane of the translation document view. You can also edit remote translation memories if you have sufficient privileges. Due to a significant data traffic, editing remote translation memories may be slow especially when the server has a slow outbound connection. How to beginSelect the translation memory you want to edit in the Translation memories pane of Project home, then click the Edit button on the Translation Memories ribbon tab. The Translation Memory Editor appears. Alternatively, edit a translation memory in the Translation memories pane of the Resource console, or in the Translation memories dialog of the New memoQ project wizard. Then click the Edit link below the list. Note: Before memoQ displays the translation memory editor, you need to set the filtering criteria in the Filtering and sorting dialog. Important: The translation memory editor appears as a separate tab in the memoQ window, at the same level with document grids, alignment grids, or the Communication tab. Important: While you are editing a translation memory, you cannot add segments to the same translation memory from a translation grid. If the translation memory being edited is also the primary translation memory in your project, you need to close the translation memory editor before you can commit a segment during translation. LayoutThe main part of the translation memory editor consists of a grid listing the source and target language entries in the translation memory, a section for displaying and editing meta-information on the translation memory entry selected, and a series of other options. Editing InterfacememoQ shows the source-language segments on the left, and the target-language segments on the right. You can edit the segments as if you were in the translation editor. Make changes to the source-language or the target-language cells, and click the Save Changes button to save them to the translation memory. You can commit multiple changes: this means you do not have to click Save Changes after editing each entry, but you need to click Save Changes before closing the translation memory editor. You can also navigate the grid by using the scroll bar, and you can select entries using the mouse or the arrow keys. Use the filtering and sorting options to filter for e.g. tagged segments. Each row contains 2 icons: Click the first icon to remove all tags from the source and target cell of the selected row. Click the bin icon to delete the selected TM entry. Each TM entry shows the meta-information which you can also see in the Segment details pane on the right hand side. Segment detailsAs you navigate, you will see that the meta-information displayed on the right side is changing. memoQ always shows the meta-information for the currently selected entry. The following individual meta-information is available for translation memory entries: •Created by: This field indicates the creator of this TM entry. •Created at: This field indicates the creation date of this TM entry. •Modified by: This field indicates the user name of the person who created or last modified the entry. If the entry was modified, the check box labeled Corrected is checked. •Modified at: This field indicates the timestamp of the creation or most recent modification of the entry. If the entry was modified, the check box labeled Corrected is checked. •Last modified role: This field indicates the user role of the person who created or last modified the entry. •Document: If you have enabled to save the document name as you created your TM, then you see the document name from which this segment comes from. •Corrected: This check box is checked if the entry was manually post-edited. •Aligned: This check box is checked if the entry was created by means of alignment. Metadata•Subject: This field indicates the subject of the translation memory. You can edit this field. •Domain: This field indicates the domain of the translation memory. You can edit this field. •Project: This field indicates the project identifier of the translation memory. You can edit this field. •Client: This field indicates the client the translation memory was created for. You can edit this field. If you have no metadata or if you wish to change e.g. the client name, click into the field next to the client, subject, domain or project. The field turns white and you can enter new metadata or change existing one. Context•Previous segment: This field displays the previous stored segment in the TM to the currently selected one. If you store no context in your TM, this field is empty. •Next segment: This field displays the next stored segment in the TM to the currently selected one. If you store no context in your TM, this field is empty. •Context ID: This field is the unique identifier of the entry in the translation memory. You cannot edit this field. Custom fieldsWhen you are editing a translation memory, you can also edit the values of custom fields for each translation unit. Below the built-in meta-information fields, you can set values for the custom fields that are available in the definition of the translation memory. Click the Add custom field link to invoke the Custom field properties dialog. Enter a name in the Name field. Choose the type from the Type drop-down list: Free text, Number, Date/time, Pick list (single), Pick list (multiple). Click OK, then the custom fields are displayed. You can enter a value into the fields. •To add a value: Choose a custom field. All custom fields that are used in the definition of the translation memory are displayed. Then, type the value in the text box. For picklist fields, memoQ displays the list of values. After you choose the field and specify the default value, click Add. •To remove a value: Click into a custom field in the Custom fields section, and delete the text or the value. Note: Be careful when changing the values of custom fields, because the strict and soft filters in TM settings profiles are based on these values. Careless editing of custom field values might result in losing translation memory matches during translation. See also: Custom field properties Translation Memory Editor ribbon tab optionsUse the buttons to perform actions on the entries or on the translation memory: •Import: Click this button to import the translation memory from TMX format. This function is identical to Import from CSV/TMX command in the Translation memories pane of Project home or the Resource console, in the Translation memories dialog of the New memoQ project wizard. •Export: Click this button to export the translation memory into TMX format. This function is identical to Export to TMX command in the Translation memories pane of Project home or the Resource console, in the Translation memories dialog of the New memoQ project wizard, with the exception that from the editor you can also export a subset of the translation memory filtered in the Filtering and sorting parameters dialog. •Properties: Click this button to see the properties of the translation memory. This function is identical to the Properties command in the Translation memories pane of Project home or the Resource console, in the Translation memories dialog of the New memoQ project wizard. •Save Changes: Click this button to insert the changes into the translation memory. For security reasons, the changes you make do not get into the translation memory until you click this button to enforce their application. •New: Click this button to manually add a new entry to the translation memory. •Delete: Click this button to delete an entry from the translation memory. When you have selected several TM entries, and you click Delete, then all selected TM entries are deleted at once. •Replace Metadata: Filter for Project, Client, Subject or Domain. For example, you have misspelled Audii as your client, now you need to correct the TM entries. Click the Filter/Sort button on the Translation Memory Editor ribbon tab. Filter for Audii. Select all segments. In the Entry properties pane on the right hand side, correct the Client field, then click the Replace Metadata button on the Translation Memory Editor ribbon tab. Click Commit afterwards to save your changes to the TM. •Flag: Select a row, then click the Flag button on the Translation Memory Editor ribbon tab to flag this row. A red flag icon will appear in the flagged row. Click the flag icon to remove the flag from the row (the red flag turns into a white flag icon). The flag icon is also visible next to the funnel filter icon above the rows. Filter your TM entries for flagged entries only.
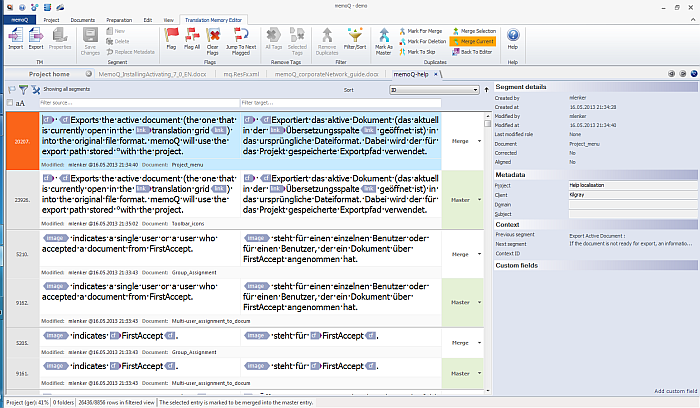
•Flag All: Click this button to flag all segments in your TM or, if you use a filtered view, only in the filtered view. •Clear Flags: Click this button to remove all flags from your TM. If you use a filtered view of your TM, not only flags in your filtered view, but in the whole TM are removed. •Jump To Next Flag: Click this button to jump to the next flagged row. •All Tags: Click this button to remove all tags from your TM, including inline tags. •Selected Tags: For example, you want to remove image tags from your TM as part of TM maintenance. Select these tags in your TM, then click this button to only remove the selected tags from your TM. All other tags such as formatting tags (bold, italic, underline) remain intact. •Remove Duplicates: Click this button to invoke the Filter for duplicates dialog in which you can specify criteria for duplicate removal. •Filter/sort: Click this button to invoke the Filtering and sorting dialog in which you can specify criteria for filtering and sorting the contents of the translation memory. •The following commands for merging are available in the Duplicates section of the TM editor (when you are in the normal TM editing mode, these commands are not visible): •Click the Back To Editor button to leave the Duplicate removal mode. NavigationClick the |