|
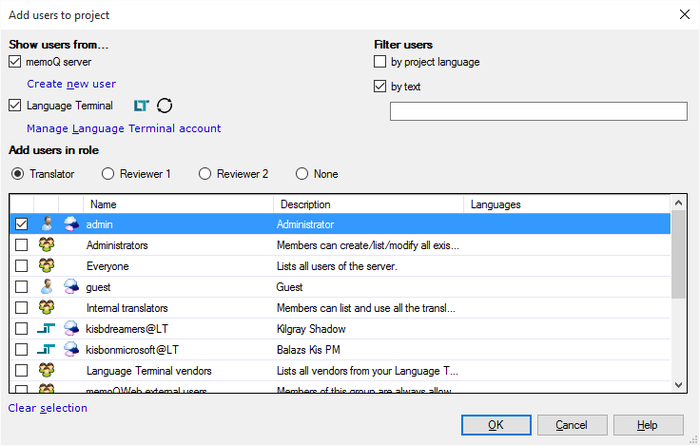
Use this dialog to select users or groups registered on your server to add to an online project. How to beginOpen the online project for management in memoQ. Then, in the Overview pane of Project home, click the People icon. memoQ displays the list of users in your project. On the Project users tab, click Add user.
See also: UseThis dialog lists all users and groups registered on the server. Select a user or several or a user group. If you choose a group, then all members of this group are added to your project. In the Show users from... section, check the memoQ server check box to restrict the display the users on the memoQ server. Click the Create new user link to open the User properties dialog to create a new user on the memoQ server. To see Language Terminal users, check the Language Terminal check box. Connect to Language Terminal before adding users from there: The Language Terminal check box will be greyed out if the memoQ server is not connected to Language Terminal. For best results, you also need to log on to the memoQ server with a Language Terminal user account before you can add Language Terminal users to your project. Use the Filter users section to filter users either by project source language and its target languages as language pair (sublanguages included, except for Chinese) or by text. If you search by text, enter text in the text field below the check box. memoQ searches not only the user name, but also the full name, the description of the users/groups. If you filte rby project language, then only users with this language pair are shown. In the Users and groups list, you see the name of the user or group, a description column, the language pair; the column left to the user name or group indicates the package workflow for the user which you need to specify in the user properties: oThe icon for both is: oThe icon for packages only is: oThe icon for online only is: Click the Clear selection link to uncheck all users and groups at once. •Name: This column shows the name of each user or group. Whether the Name in question is a user or a group is shown by the number of heads next to it – a single head means a user, two means a group. •Description: This column indicates information about the user or group. It is for information purposes only. •Languages: This column indicates the language pair(s) for a user or a group. Select one or more users in the list. To select multiple users, click the first one, then press and hold down Ctrl, and then click the rest. You can also select a range of names by clicking the first one, and then pressing and holding down Shift while clicking the last one. NavigationIf you have finished selecting users or groups, click OK to add them to the project. To leave the dialog without adding the selected users or groups, click Cancel. |