As a first step, you need to set up the content connector service on a computer within the network reach of your memoQ server. You can install the content connector service on the memoQ server itself. The following description assumes that you are installing the content connector service on your memoQ server.
1.Download and install the memoQ content connector service on your memoQ server. For instructions to install the content connector service, see the help pages for the memoQ content connector. 2.Log on to the memoQ server using Remote desktop or any other screen sharing service, start the memoQ content connector client program, and set up a connection for the folder you want to watch. For more instructions, see the How-to page in the memoQ content connector help. Note: You can install the memoQ content connector client program on any computer that can reach the memoQ server over the network. However, you need to install the content connector service on that computer, too. If this is the case, you can start the memoQ content connector client program on your computer, and access the content connector service over the network.
Important: Do not forget to note down the authorization ID that identifies the connection. You will need it when you set up the online project to use that connection to watch the folder.
3.Start memoQ on your computer, and select your memoQ server in the Dashboard, right under the Manage projects title. Click Select to display the list of online projects on the server. Note: You can also perform this procedure from the Manage projects dialog. On the Project ribbon tab, choose Manage projects. When the Manage projects dialog appears, select your server, and start creating the online project.
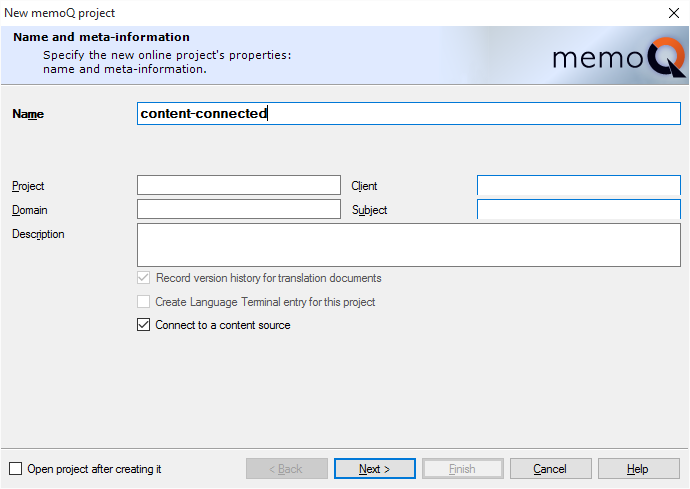
4.On the Project ribbon tab, choose New Project > New Online Project. The New memoQ project wizard starts. 5.In the first page of the wizard, type a name for the project. Optionally, specify meta-information, and type a description for your project. 6.Still in the first page, check the Connect to a content source check box. Note that the Record version history for translation documents check box is also checked. No Language Terminal integration for online projects: In memoQ 2015 (builds 7.8.100 or later), online projects cannot be recorded on Language Terminal. This restriction is temporary: Language Terminal project management capabilities will return to memoQ server in a future release.
5.Click Next. The Content source wizard page appears. 
6.In the Content provider address text box, between http:// and :8080, type the address of the computer where the content connector service is running. If you installed the content connector service on the same computer where memoQ server is running, the address will be 'localhost'. Important: Always specify an address from the aspect of the server, not your computer. The server must be able to connect to the content source using the address you specify. 'localhost' always means the server itself, and not your computer. It is possible that the address is not reachable for your computer, but it is perfectly available to the server.
Note: This procedure assumes that the content connector service is installed with default settings. If not, the port number (by default :8080) at the end of the address might be different. If you have doubts, or the connection does not work with the default settings, contact your server administrator.
7.In the Authentication ID text box, type or paste the authorization ID you noted down when you created the content connection in the memoQ content provider client. Click Connect. 8.The Create new online project wizard lists the connections available at the specified address, and under the specified authorization code. Click the connection that corresponds to the folder you want memoQ server to watch. 9.Check the Import initial content when the wizard completes check box, and choose a polling frequency. In the Polling frequency (hours) text box, you can enter the number of hours that tells memoQ server how often it must check for changes in the content source. For example, if you specify 4, memoQ will check for changes every 4 hours. Enter the e-mail address of your client for word count notifications in the text field. After specifying the polling number and entering an e-mail address, click Next. 10.Check the Open project after creating it check box to open the project directly after it is being created. 11.On the next wizard pages, choose a workflow (overlapping or packages). The Allow package creation check box is not available for a content connected project. For more information on these, see the How-to page on creating online projects. 12.Click Finish to create the project. If you checked the Import initial content when the wizard completes check box, memoQ server connects to the content source immediately, and imports any documents it finds there. Once this is finished, memoQ displays the memoQ online project window with the Translations pane open. Note: When you create a project by connecting to a content source, the new project is called a content-connected project.
Note: After creating the online project, you still need to assign users to the project as a whole and to each document. You also need to choose translation memories, term bases, and LiveDocs corpora to use with the project. Do not click the Launch project button before all this is set up.
|