Dashboard: The project list
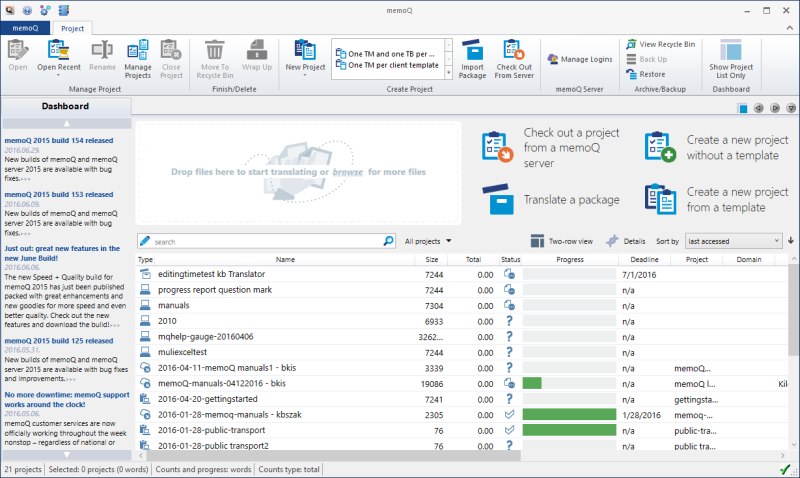
The Dashboard is a starting point as well as a list of projects. This page describes the things you can see in that list.
To learn where to go from the Dashboard: See the main topic.
This is the translator's dashboard: You see this Help page because you come from the translator pro edition of memoQ. If you need the page about the project manager's version, click here.
The list is filtered: Normally, the Dashboard doesn't show all the projects. You get a filtered view. You can filter the project list in many ways. To learn more: See the topic about filtering the list.
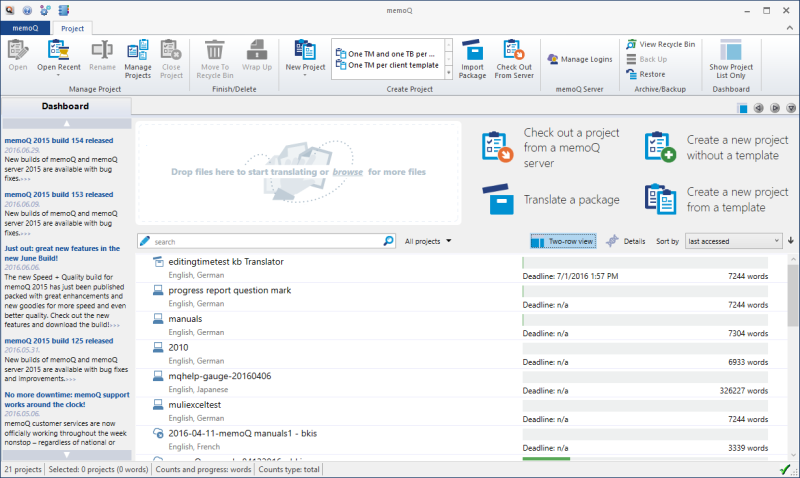
The project list has two views.
To show as many projects as possible, each project occupies one row in the table. This is the default view.

If your screen isn't so wide, or you need more details about each project, switch to the two-row view: Click the Two-row view ![]() icon.
icon.
Then each project will occupy two rows. But you can oversee fewer projects on the screen.

What can you do?
Here are all the columns you can see in the project list.
To show or hide columns: Right-click the header of the list, and check or clear the check box for each column. memoQ shows or hides each column accordingly.
Type: Shows the project type (local, online, checked out project, package, LT). See the legend further down this page.
Name: Shows the name of the project.
Size: Shows the size of a project in words, segments, or characters. Normally, it's words. You can choose: Right-click anywhere in the list. Click to Base progress on. Then choose from Characters, Segments, or Words. The setting applies to all projects.
Status: Shows the status of the project. Some examples: Not started, Translation in progress, Completed. See the complete list of project statuses further down this page.
Progress: Shows the progress of the project in colors. Grey means not started (no progress). Darker green means Translation started or completed. Hover over the progress bar for a project to see percents. Light green means Review 1 started or completed. A completed project is shown in all light green.
Deadline: Shows the final deadline for a project, if it has one.
Languages: Shows the source language of the project, followed by the target languages. Languages appear in alphabetical order. If you can't see all of them, point to the field. memoQ displays all the languages in a bubble.
Created: Shows the date the project was created.
Last accessed: Shows the date when someone opened the project for the last time. Local projects only.
Commands: Shows icons for a few commands. To see the icons, point at the field in the row of a project. Here are the commands you can use directly from the list:

- Open project
- Back up project
- Rename project
- Archive project
To learn about all commands for projects: See the Project ribbon.
When each project is shown in two rows (see above), the four main descriptive fields are also there:
- Sub: Subject field of the project.
- Dom: A general category descriptor. Use it to refine your project categories.
- Cli: Name of the client that the project was created for.
- Pro: An 'umbrella' project identifier. Use it if there's a larger project that contains several jobs.
You cannot edit these fields here. You define them when you create a project.
- To select a project: Click the name of the project.
- To select several projects: Click the name of the first project. Press and hold down Ctrl, then click the other projects one by one.
- To open a project: Double-click its name. The project opens in Project home. You can edit documents in it.
- To use the keyboard to move around: Select a project. Then press the up or down arrow to move up or down. To open the selected project, press Enter. To jump to a project by name: Start typing the name of the project.
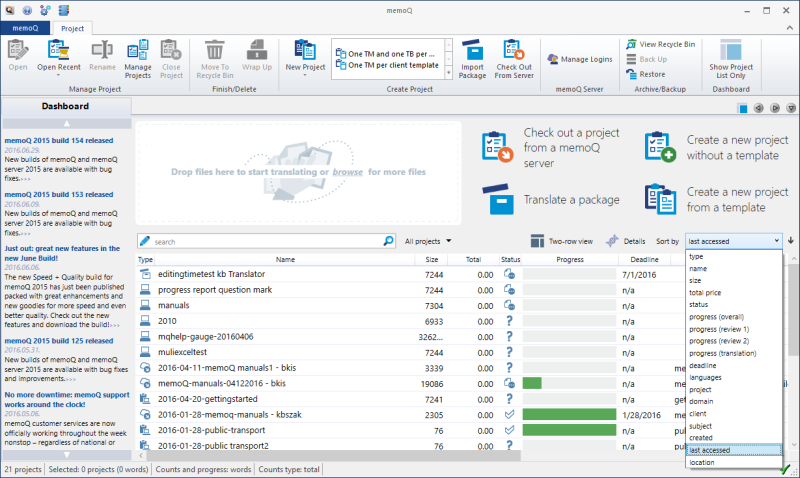
You can sort the Dashboard by: name, alert, size, status, progress (overall, for translation, for review 1, for review 2), deadline, languages, created and last accessed. From the Sort by drop-down list, choose your filter criterion. Use the arrow icon next to the Sort by drop-down list to sort the filtered view from A-Z or Z-A.

The Dashboard shows the sorted list.
Use the arrow icon next to the Sort by field to sort in ascending or descending order e.g. enter sort by name, then click the arrow icon to sort A-Z or Z-A.