New term base
You can create a new term base using this wizard.
How to get here
- Open memoQWeb in a web browser. Log in as an administrator, project manager, terminologist, or external user.
- Click the QTerm tab. The QTerm - Home page appears.
- Above the list, click New term base. The New term base wizard appears.
What can you do?
Page 1 - Term base properties:
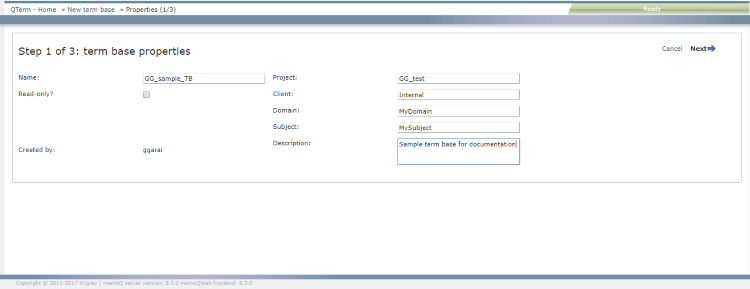
Fill in the information fields you want. The Name field is required.
To make the term base read-only: Check the Read-only? check box.
- To go to Page 2: In the upper right corner, click Next.
- To close the wizard and return to the Home screen without creating the term base, in the upper right corner, click Cancel.
Page 2 - Languages:
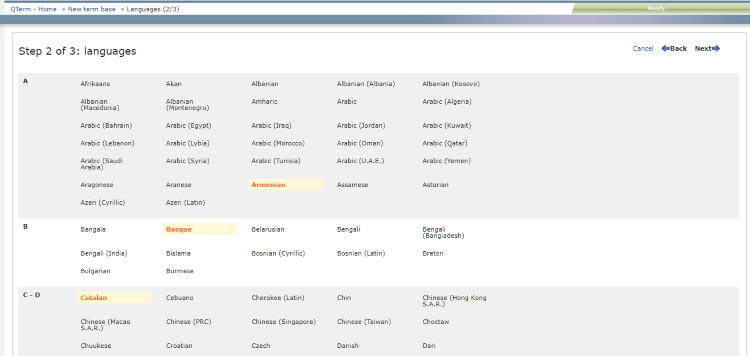
In the alphabetical list, click the languages you want to include in the term base.
- To go to Page 3: In the upper right corner, click Next.
- To return to Page 1: In the upper right corner, click Back.
- To close the wizard and return to the Home screen without creating the term base, in the upper right corner, click Cancel.
Page 3 - Definition:
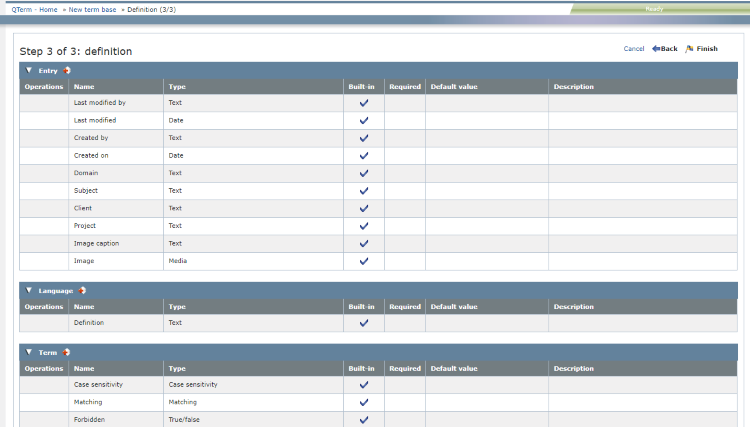
Add any extra fields you want to use in your term base for your own metadata.
- To add an entry-level field: Click the Add new
 icon next in the Entry header.
 - To add a language-level field: Click the Add new icon next in the Language header.
- To add a term-level field: Click the Add new icon next in the Term header.
A new pane appears under the list you clicked in:

- Enter the name of the new field in the Name column.
- Choose the type of the new field in the Type column. Possible types are:
- Text: You can put any text in this field.
- Number: You can put only a number in this field.
- True/false: The field's value can be true or false, indicated by a check box.
- Date: You can put only a number in this field.
- Media: You can upload media content such as sounds, graphics, videos in this field.
- Pick list (single): You can choose one value from a list of defined values (for example, Draft, Approved, Published). Separate pick list values with a semicolon (;), and do not use spaces in them.
- Pick list (multiple): You can choose one or more values from a list of defined values (for example, the geographic region where the term is used can be both Europe and Asia). Separate pick list values with a semicolon (;), and do not use spaces in them.
- For Pick list type fields, define the possible values:
- Enter a value in the field under Pick list and click the
 icon next to it. The value appears in the list below.
 - Repeat step a for each value you want to add.
- Use the
 and
and  icons to move list items up and down.
 - Use the
 icon to remove list items you added by mistake.
 - To make the field required (one that cannot be left empty), check the check box under the Required column, and select a Default value.
- Enter a description for the field.
- To save the field and go on: Click the Save icon
 on the left.
To save the field and add another one: Click the Save and add new icon  on the left.
To cancel your changes without adding the field: Click the Cancel icon  on the left.
To edit a field you added: In the field's row, in the Ops column, click the Edit
 icon. The above pane appears again. Make your changes and click Save .
To delete a field you added: In the field's row, in the Ops column, click the Delete ![]() icon.
icon.
Built-in fields cannot be edited and deleted: Their Ops column is empty.
When you finish
To return to Page 2: In the upper right corner, click Back.
To create the term base and return to the Home screen, in the upper right corner, click Finish.
To close the wizard and return to the Home screen without creating the term base, in the upper right corner, click Cancel.