Administration > Users > Add user
You can create a new user account on the memoQ TMS here.
How to get here
- Sign in to memoQWeb as an administrator.
- On the left sidebar, click the Admin icon.
- On the Admin screen, click the Users button. The Users screen opens.
- In the top right corner, click the Add user button. The Add user screen opens.
What can you do?
Add profile info for the new user
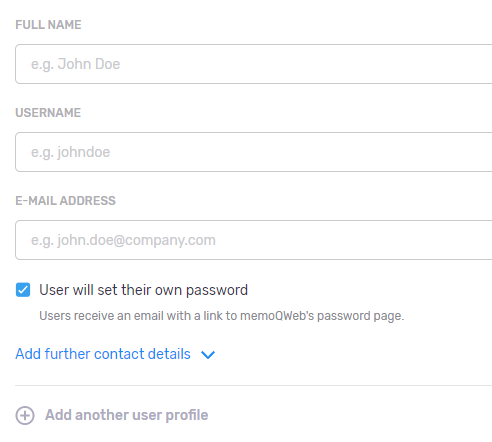
You need to enter the Full name, Username and E-mail address of the user. To add more details: Click the Add further contact details link. Add the Mobile phone number, Phone number or Address of the user, as needed.
Set a password for the user
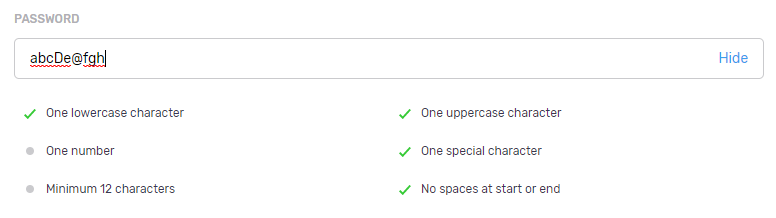
Normally, the new user can set their own password before signing in for the first time. To set a password for them: Clear the User will set their own password check box. Type the password into the Password field. To see what you are typing: Click the Show command on the right (only do this if nobody is watching your screen).
When the password meets criteria defined by the system administrator, the gray dots below turn to green check marks:
Choose workflow and profile settings for the user
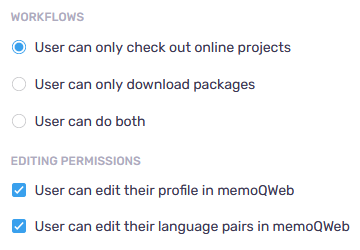
The two check boxes under Workflows allow the user to check out an online project or download a project package when they sign in to a memoQ TMS.
The two check boxes under Editing permissions allow the user to change their profile data or their language pairs when they sign in to memoQWeb.
Choose groups for the user
In memoQ, permissions tell if a user can access a resource and what they can do with it. Use groups to make this easier. A group allows to treat multiple users together: If a group has access to something, all of its members do. Adding a user to a group is much simpler than changing their permissions. To improve security, give permissions to groups instead of single users.
To add the user to a group: Click the Add user to group link. In the Add user to group window, check the check boxes of the groups you want to add the user to. To save your changes: Click the Apply button. To discard your changes: Click the Cancel link.
If the list is too long: Above the list, start typing into the search bar. You will only see items that match the characters you typed.
Choose language pairs for the user
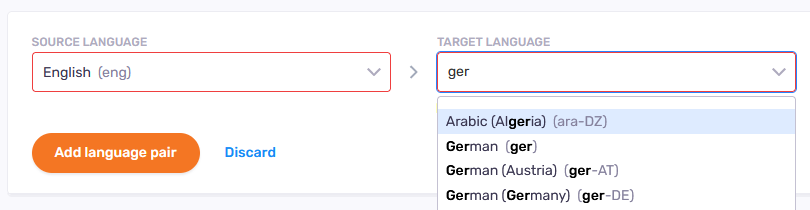
Start typing into the Source language and Target language boxes. Suggestions appear. Choose the language you want.
To add another language pair: Click the Add language pair link. A new row appears.
To delete a language pair: Click the Delete ![]() icon on the right of the row.
icon on the right of the row.
Create more than one user at the same time
At the bottom of the User profiles section, click the Add another user profile link. Enter the profile details for the new user. The settings, groups and language pairs will be the same for all users you create at the same time.
When you finish
To save your changes and add the user: Click the Add user button.
To return to the Users screen without saving: Click the Cancel link.