CMS Dashboard - Workflows
This page lets you view and manage the workflows used on the various CMS connections.
How to get here
- Start memoQ and sign in to a server.
- In the Project ribbon's Manage Project section, click the CMS Dashboard
 button.
 - The CMS Dashboard window opens, with the Jobs tab active.
- Click the Workflow automation tab.
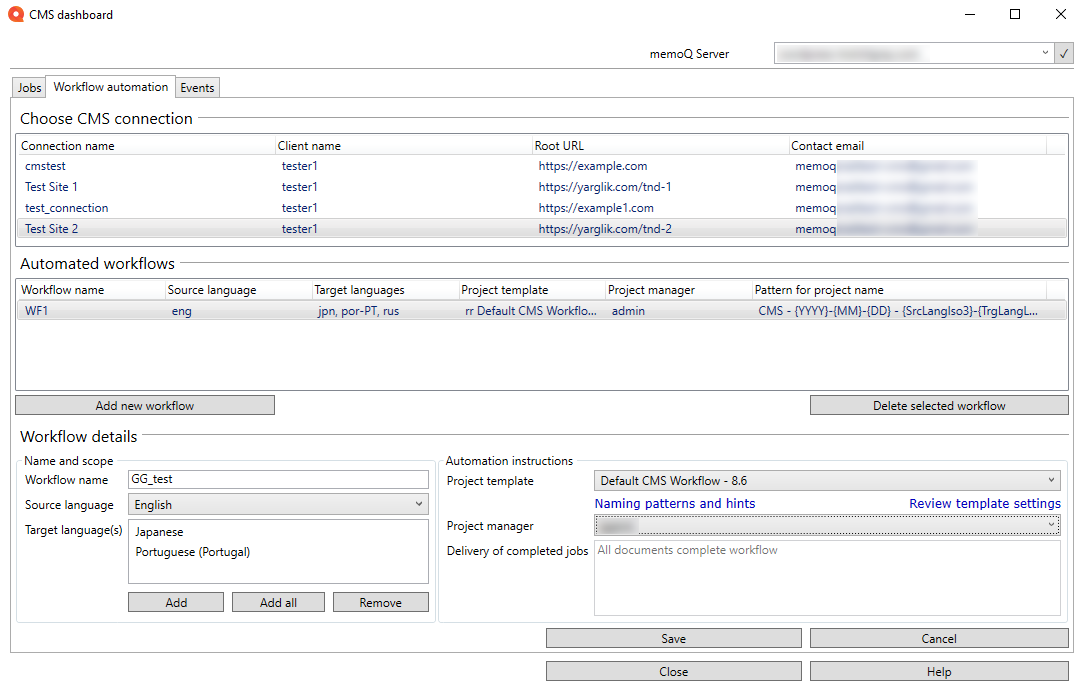
What can you do?
To switch to a different server: At the top right of the window, open the memoQ TMS dropdown, choose a server, and click the check mark button ![]() at its right.
at its right.
To see workflows for a CMS connection: Under Choose CMS connection, choose a CMS connection. The list of workflows appear under Automated workflows.
To add a new workflow to a connection:
- Under Choose CMS connection, choose a CMS connection.
- Under the Automated workflows list, click Add new workflow.
- Fill in the fields under Workflow details:
- Type a name for the new workflow.
- Choose its Source language.
- Add Target language(s) as needed.
- Choose the Project template you want to use.
- To view information about the selected project template: click the links under Project template:
- Naming patterns and hints shows how the project resources are named, and gives tips about how you should set them.
- Review template settings opens the Template overview window.
- Select a Project manager for the projects created with this workflow.
- If the template has the Deliver to CMS automated action, the Delivery of completed jobs field shows when this action will occur.
- To create the workflow: Click Save. To not create the workflow: Click Cancel.
To view or edit details of a workflow: Under Automated workflows, select a workflow. Change the details as needed and click Save.
To delete a workflow: Under Automated workflows, select a workflow. Click Delete selected workflow, and confirm the action.
When you finish
To return to the PM Dashboard: click Close.