Server Administrator - Add single sign-on sync group
This window opens when you need select groups to synchronize with the memoQ TMS user database for single sign-on. This window offers groups of users from the Windows domain of your organization, or from the computer that runs memoQ TMS.
If there other domains connected to the main Windows domain of your organization, you may be able to choose from groups defined in those other domains, too.
Managing memoQ TMS: To do this, you need to be a member of the Administrators group on the memoQ TMS, and have the project manager edition of memoQ.
How to get here
-
At the very top of the memoQ window, click the Server Administrator
 icon. You can also find this icon on the Project ribbon.
 -
The Server Administrator window opens, showing the Connection pane.
-
Type or choose the address of the memoQ TMS, and click the Select
 button.
You may need to log in: If you access this server for the first time, the Log in to server window opens. You need a user name and a password to access the server.
- Under Category, click Windows single sign-on. The Windows single sign-on pane appears.
- Make sure that the Enable single sign-on checkbox is selected. If you are connecting memoQ TMS to your Windows domain, select the Use Active Directory through the current domain checkbox, too.
- Under Single sign-on sync groups, click Add. The Add single sign-on sync group window opens.
What can you do?
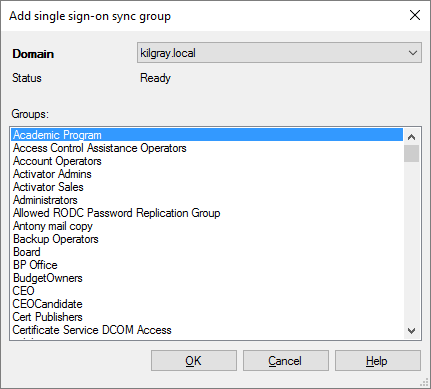
- From the Domain drop-down box, choose a domain. In this list, you can see all computers and domains that are available for single sign-on with the current settings.
You may need to wait a bit after you choose a server or a domain. memoQ TMS needs some time to query the list of groups from the domain.
- Under Groups, select a group or several groups. Click OK. To select two or more groups: Click the first one. Press and hold down Ctrl, and click the other groups.
When you finish
To save the changes, and return to the Windows single sign-on pane of Server Administrator: Click OK.
To return to the Windows single sign-on pane of Server administrator without adding groups from a Windows domain: Click Cancel.