Export document on this PC - settings
For example, you can set up a project template to export the translations to the stored folder after the project is wrapped up. Use this action in local projects.
Don't use in online projects: Instead, use the Export target documents on server action.
How to get here
- Open Resource console. Choose Project templates.
To set up the template for online projects: Use an online template for this. Choose your memoQ TMS at the top of Resource console. Click Select.
- Select the project template that you want to set up with automated actions that use custom scripts. Right-click the selection, and click Edit.
- In the Edit project template window, choose Automated actions. Click the Project automation tab if you don't see it at first.
- Under Available triggers, click an event when you want memoQ to export the documents. For example, if you want to run this after a document is imported, click After document import.
- Next to Actions added to the selected trigger, click the + sign. The Select actions you want to add to the trigger window appears.
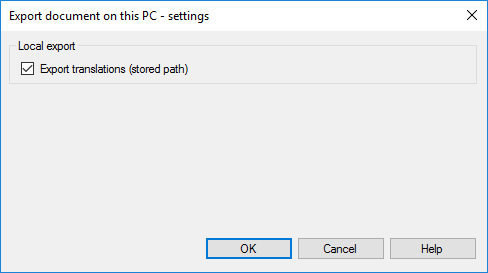
- Click Export document on this PC. The Export document on this PC - settings window appears. This action saves the translated document file on the local computer.
Don't use in online projects: If you are setting up a template for online projects, use the Export target documents on server action instead.
If you can't add this action because it's already there: Under Actions added to the selected trigger, click Export document on this PC. Next to the list, click the Settings ![]() button. The Export document on this PC - settings window appears.
button. The Export document on this PC - settings window appears.
What can you do?
- Export translations to your computer: Select the Export translations (stored path) checkbox. memoQ exports the documents to the stored path: This means that the translation is saved in the folder that is already set up in the project.
When you finish
To add the action to the project template: Click OK.
Nothing will be exported when you click OK: To export documents automatically in an ongoing project: Create a project from this project template, and start working on it. Check the output folder for exported files.
To return to the Edit project template window, and not add an action to the project template: Click Cancel.