|
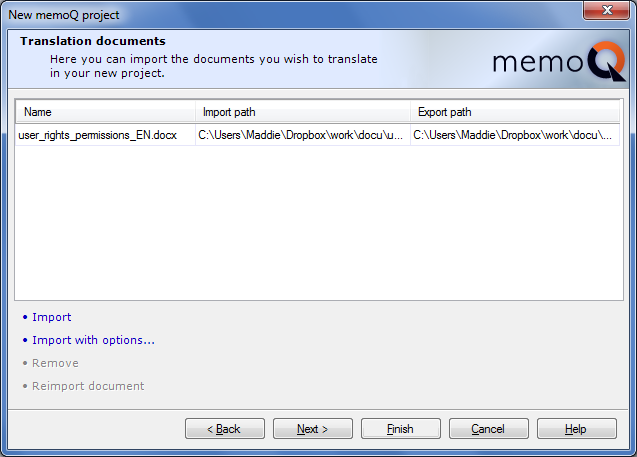
The second dialog in the New memoQ project wizard allows you to select documents that will be imported to the project in order to be translated in memoQ. You can invoke it from the Project information dialog of the wizard by clicking Next. To manage the translation documents in this dialog, you can use the commands listed under the list view, or the context menu invoked by right clicking the list view or its selected elements. •Import: Click this command to browse for the documents you want to import and segment. memoQ supports various translation document file formats. •Import with options ...: Click this command to browse for the documents you want to import and segment and have the Document import settings dialog displayed to customize the import.Click this command to also browse for bilingual files created in memoQ or in other applications Documents are imported and segmented immediately and listed in the field, along with the following information: •the name of the document; •the import path, or the folder where the source document is located on your computer; •the export path, or the folder where the translation will be located.
memoQ lets you import multiple translation documents of multiple file types at once. However, for each file with unknown extension memoQ will prompt you to select and configure one of the existing filters. •Remove: Click this command to remove the selected unwanted documents from the project you are compiling. •Reimport document: Click this command to reimport a selected document. Note: In the memoQ 4free edition, you cannot add more than one document to the project. For more information, see memoQ editions. When you import documents to your project or reimport documents, then this is displayed in the Progress window on import. After adding all documents you need, click Next to move to the next dialog of the wizard, or Finish to create the project as it is and go directly to the Translations pane of Project home, with the newly created project open. |