LiveDocs
A LiveDocs corpus is a collection of documents. It can contain monolingual documents, bilingual document, as well as aligned document pairs. memoQ can look up phrases and segments in a LiveDocs corpus in the same way as in a translation memory.
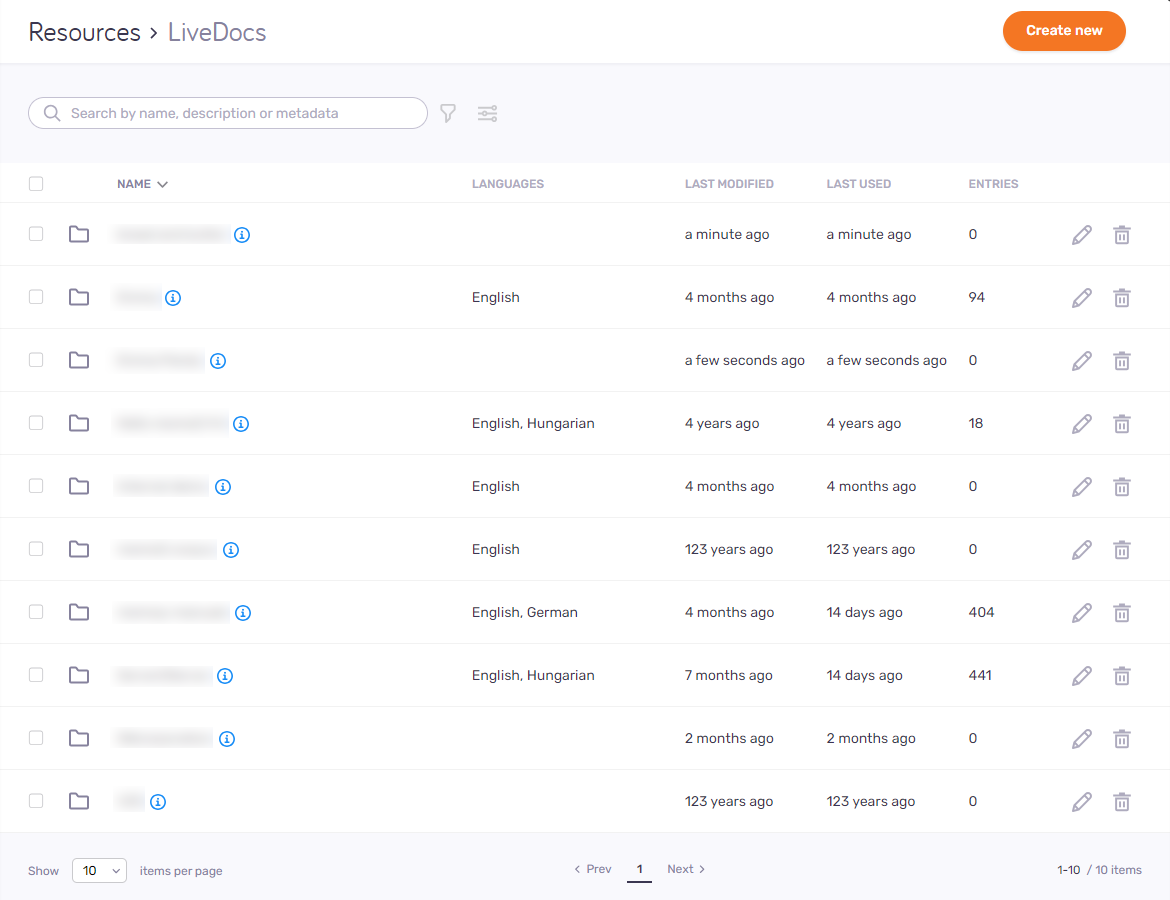
This page shows the LiveDocs corpora on the memoQ TMS - those that you have permission to access.
How to get here
-
Log in to memoQweb.
-
Under Resources, click LiveDocs. The LiveDocs page opens.
What can you do?
To create a new LiveDocs corpus: At the top right, click the Create new button. The Create new page opens.
To see information about a LiveDocs corpus: Point your mouse at the corpus's Info ![]() icon. The tooltip shows the corpus's Project, Client, Domain, Subject, and Description fields.
icon. The tooltip shows the corpus's Project, Client, Domain, Subject, and Description fields.
To edit a LiveDocs corpus's name or metadata: In the corpus's row, click the Edit ![]() icon. The Edit LiveDocs corpus page opens.
icon. The Edit LiveDocs corpus page opens.
To see what documents are in a LiveDocs corpus, click its name in the list. The corpus's page opens with the list of documents.
To search the list: Type something into the search bar above the list. Press Enter. If the text you typed can be found in some resources' name, the list will only show those. To show all resources again: Click the X icon at the end of the search bar.
To filter the list by metadata: Click the Filter ![]() icon. In the
icon. In the
To change how this page looks:
-
At the top of the screen, click the Customize view
 icon next to the filter dropdown. The Customize view pane opens.
 -
To show or hide columns in the document list: Check or clear the Name, Languages, Last modified, Last used, and Entries checkboxes as needed.
-
To change the order of columns: On the right side of the pane, drag the columns' handles
 as needed.
 -
To save your changes: Click the Apply button. To close the Customize view pane and not save your changes: Click the X icon in the top right corner. To reset all settings: Click the Reset to default link.
When you finish
Close that page in your browser.