|
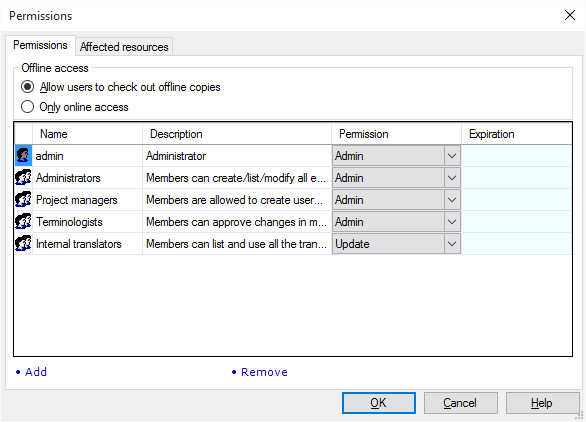
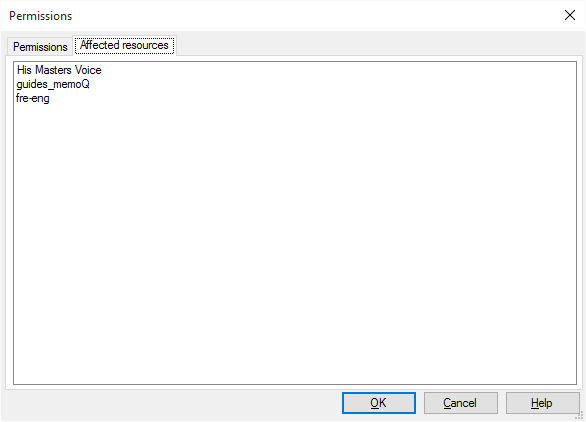
You can restrict access to online resources by setting permissions to restrict the following: •Who may use your resource. •What the user may do with the resource. •How long the user may use your resource with the specified permissions. The Permissions dialog contains a list of permissions for the selected resource, with the following information: users and groups, permission type, expiry. Anyone who has access to a memoQ server can access and change resources. You can select multiple resources, for example 3 TMs at once, to change their permission in one step. If you select multiple resources, they are listed on the Affected resources tab. The new permissions will be applied to all selected resources in one go.
How to beginTo set permissions over a resource, open the Resource console (in the Application menu), right-click the name of the resource, then choose Set permissions. UseThe Permissions dialog has two versions, one for granting permissions for online resources available for offline synchronization, and one for resources that cannot be downloaded for offline use. In the case of online resources, there is an Offline access section added to the dialog. •Allow users to check out offline copies: Select this radio button if you want to allow users to check out offline copies of the selected online resource. Offline copies are for temporary use and can be synchronized with the online version of the resource. •Online access: Select this radio button if you do not want to allow users to check out offline copies of the resource. The Permissions dialog lists all permissions related to an individual resource, i.e. translation memory or term base. Every line means one permission. •Name: This column indicates the users or groups to which a permission type with expiration was assigned. Whether the Name in question is a user or a group is shown by the number of heads next to it – a single head means a user, two means a group. •Description: This column indicates information about the user or group. It is for information purposes only. •Permission: This column indicates the permission types assigned to the users or groups indicated in the column labeled Name. This property can be modified in this dialog. •Expiration: This column indicates the expiration of permissions assigned to the users or groups. This property can be modified in this dialog. You can choose from the following permission types (some resources e.g. LiveDocs may have additional permission types): •Lookup: This permission type allows the user or group to use the resource for reference during translation, but does not allow adding new entries to it. •Update: This permission type allows the user or group to use the resource during translation, find translation hits, add new entries, but does not allow administrative actions. Note: When a user is a translator in an online project, he has Update permission. He can access the TM, update it from his checked out local project copy. This is intended because of the given project permission. •Review: Allows for reviewing a term base. •Admin: This permission type allows the user or group to perform all operations with the resource, including TMX/CSV export-import and editing. The following permission types apply to online projects: •Connect: This permission type allows the user or group to connect to an online project. •Admin: This permission type allows the user or group to change the properties of an online project. You can use the following links to manipulate permissions: •Add: Click this button to grant new permissions. The Select users and groups dialog opens. •Remove: Click this button to revoke selected existing permissions. NavigationClick OK to close the Permissions dialog and save all changes, or click Cancel to dismiss the dialog without saving changes.
See also: •The permissions management webinar, available on the Kilgray website. •The User rights and permissions guide, available on the Kilgray website.
|