Settings window in memoQ editor
Here you can learn all about the configurable options available in memoQ editor's Settings dialog.
How to get here
-
Open a document in the memoQ editor.
-
At the top, in the Tools menu, click Settings.
The Settings dialog opens:
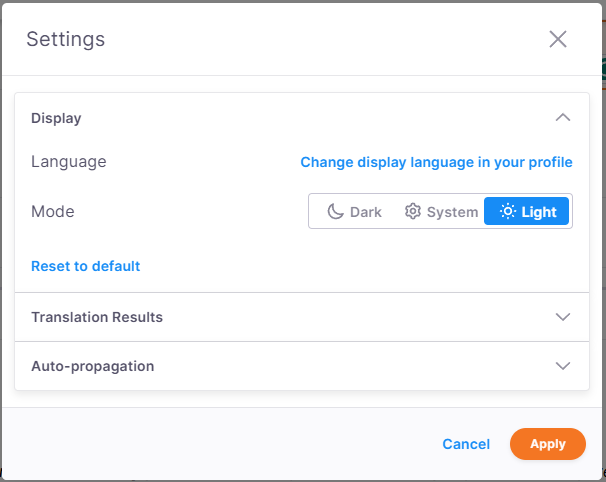
The Settings dialog is organized into four main expandable sections:
What can you do?
In the Display section you can:
-
Change your display language: Click the Change display language in your profile button which takes you to your user profile settings.
-
Choose your preferred appearance mode: System (default), Light, or Dark.
-
Reset your settings to default.
As you translate, memoQ works in the background to help you. It pulls suggestions from various sources like translation memories, LiveDocs corpora, term bases, fragment matches, and auto-translation rules,
This section allows you to customize how translation results appear and behave in the memoQ editor.
![]()
Under the Filter and limit section, you can:
-
Allow filtering and set max translation memory (TM) hits to display (default 5).
-
Allow filtering and set max LiveDocs corpus hits to display (default 5).
-
Get LiveDocs corpus suggestions coming from monolingual documents. The Show corpus hits without translation option is selected by default.
Under the Term bases section, you can:
-
Display only the longest match.
-
Sort term base hits by rank first - This option allows you to control how memoQ editor prioritizes term base suggestions during translation:
When checked, memoQ editor sorts suggestions primarily by the ranking of the project's term bases. Additional factors like client, domain, and subject of the term base entries also influence the order.
When not checked, suggestions are sorted first by the position of the source term in the text (or alphabetically), and only then by the term base ranking.
To view or adjust term base rankings, in Project home, choose Term bases, and check the numbers next to each term base.
How memoQ ranks term base suggestions?
memoQ scores each term base hit based on how closely it matches the project. The more matching details (like client, subject, or domain), the higher the score. If two suggestions have the same number of matches, memoQ checks which details are more important. The priority is: Project name → Client → Subject → Domain.
For example: If one hit matches the client and another matches the subject, the one with the client match comes first because client is ranked higher.
-
Show term base hits with empty target - This option allows memoQ editor to shows term base suggestions even if there's no translation for the term in the target language. The definitions or translations in other languages can still be useful.
Under the Order of term base hits section, you can decide how you want your TB hits to appear - as they appear in the source, or in an alphabetical order.
Under the Results order section, you can sort and customize the order of results (TMs, LiveDocs, terminology, etc.) with checkboxes and sorting arrows.
Under Insertion rules, you can:
-
Overwrite translation with segment-level results - If this option is selected, hits from translation memories, LiveDocs corpora, machine translation, or fragment assembly overwrite the whole target segment.
-
Automatically insert best result after confirming segments - If this checkbox is selected, you can:
-
Set minimum match rate for TM or LiveDocs hit (default: 60%).
-
Use machine translation when no TM or LiveDocs matches are available.
-
Insert source text if no other match is available - memoQ editor copies the source text to the translation if there are no other hits. If you select this option, memoQ editor always inserts something in the target segment after you confirm the previous segment.
How to understand the translation results insertion logic?
In memoQ editor, some translation results overwrite the target segment, and others get inserted at the cursor position:
-
Insert at cursor position: terms (except forbidden terms), non-translatables, auto-translated items, automated concordance.
-
Overwrite target segment: TM matches, LiveDocs corpora matches, assembled from fragments, machine translation.
-
Forbidden terms are never inserted.
When overwriting, memoQ editor inserts the match rate if applicable.
-
-
Under Tag format in compare boxes, you can choose how tags are displayed in the compare boxes to match your workflow. Select short, medium, or long tags depending on your needs.
These settings don't change how tags are displayed in the translation grid. To adjust the tag format there, use Tag format

 in the top menu.
If needed, you can reset your settings to default.
Auto-propagation helps keep translations of repeated segments consistent. When you translate and confirm a segment, memoQchecks whether it appears elsewhere in the current document or view. If it does, memoQ automatically inserts the same translation into every repeated segment.
Before you turn on auto-propagation, make sure to check the context of your translations.
This section allows you to keep repeated segments consistent effortlessly.
![]()
Here you can:
-
Allow auto-propagation
Keep the Auto-propagation checkbox selected to automatically apply confirmed translations to repeated segments in the document or current view.
You can choose from two options here:
-
Propagate backward and forward - Applies the translation both earlier and later in the document.
-
Propagate only forward - Only applies the translation to the matching segments later in the document. This option is set as default.
-
-
Overwrite confirmed segments
Decide if you want to overwrite even the segments that are already confirmed. Then choose how you want to change their status after auto-propagation.
You can choose from: confirmed (default), edited, pre-translated, or don’t change.
-
Reset your settings to default.
How auto-propagation works?
Once auto-propagation is turned on, when you confirm a translated segment, memoQ editor automatically applies the same translation to repeated segments that you have permission to edit.
To control auto-propagation per segment:
-
You can exclude specific segment from auto-propagation.
To do this, double-click the auto-propagation
 icon in the segment status cell.
You can also, click the segment and press Ctrl+Shift+H.
-
Check status icons in the grid to track propagation status. There are three statuses you need to know:
-
No auto-propagation

-
Auto-propagated row
(to turn it off, double-click this icon). -
Row excluded from auto-propagation
 (to turn it on, double-click this icon).
-
By default, when you type a single (') or double (") quote, memoQ editor inserts straight quotes.
In formatted documents (like Word or InDesign), you’re usually expected to use smart quotes (also called typographic quotes) - for example, “double quotes like this” or ‘single quotes like this’. The exact symbols can be different for your language, and in some cases, the opening and closing marks are different.
If memoQ editor doesn’t provide smart quotes for your language, you can set them up yourself in this section.
How to set it up
-
The Replace straight single and double quotes with smart quotes checkbox is turned on by default. This means memoQ automatically inserts smart quotes instead of straight ones.
-
If you clear the checkbox, memoQ inserts straight quotes instead.
-
Your choice only affects new text you type in the translation grid, existing text won’t change.
-
memoQ remembers your setting for the next time you work.
Check how you can customize smart quotes in memoQ.
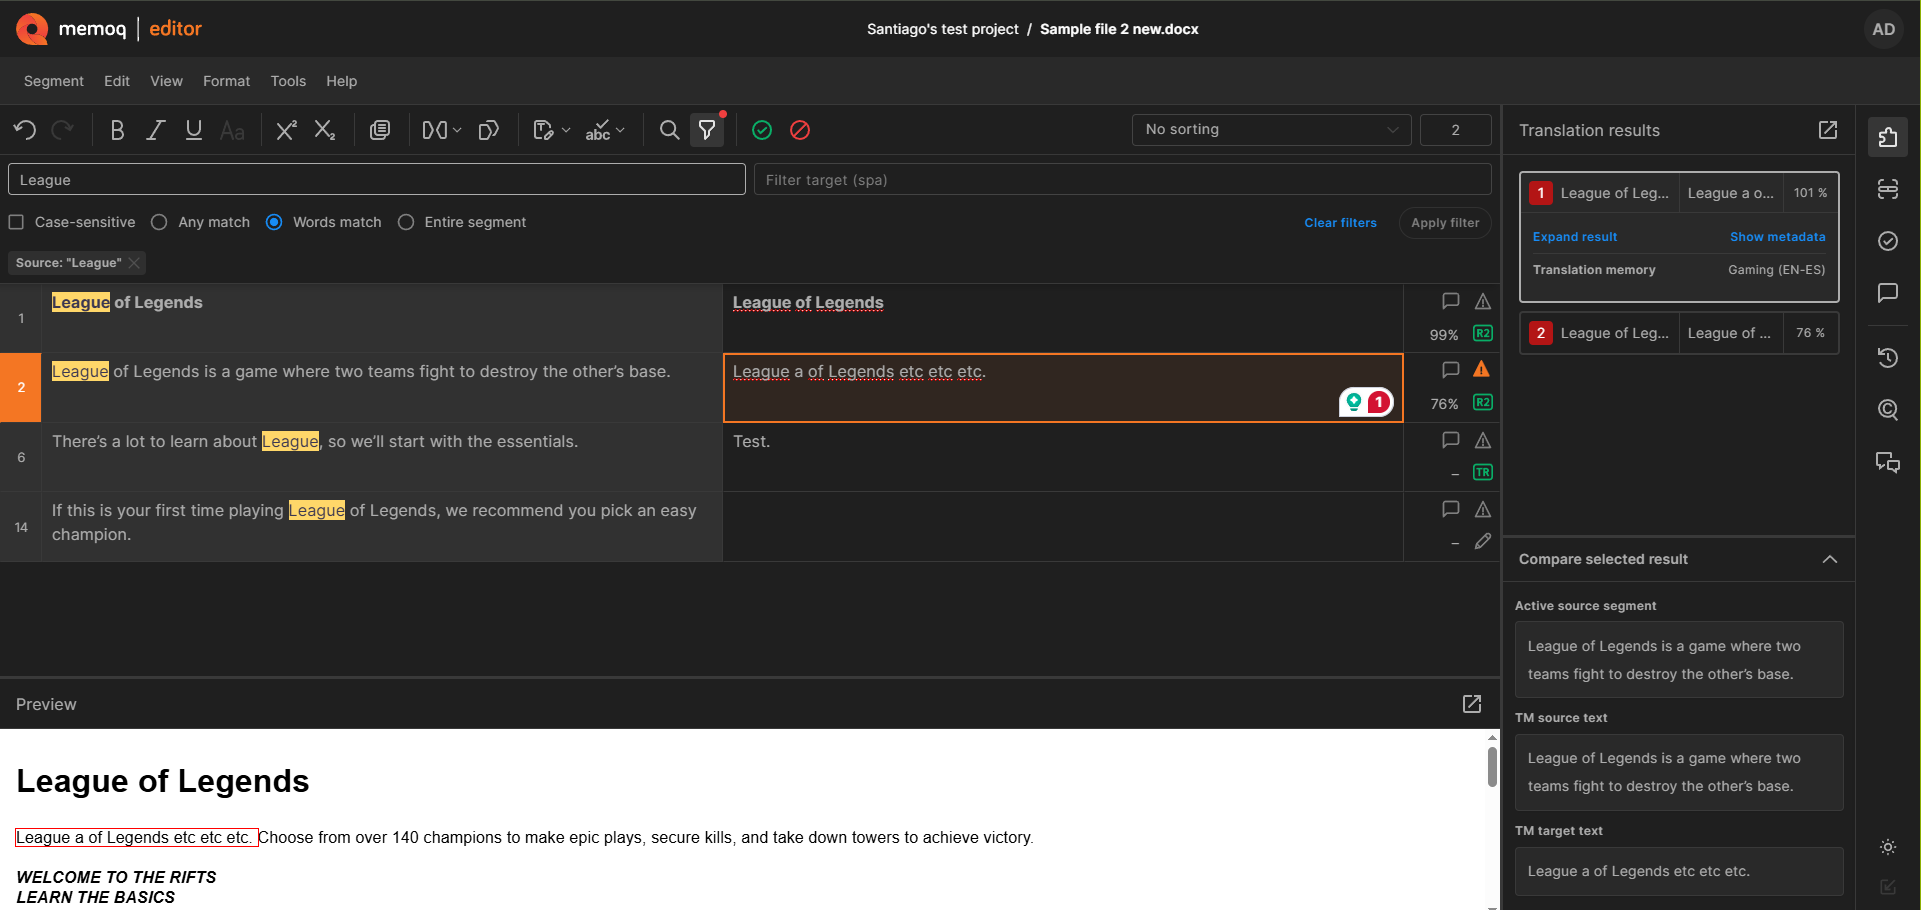
This section lets you customize what happens after you confirm a segment.
You can choose whether memoQ editor moves to the next row, jumps to the next row that matches your selected criteria, or stays on the current row. When you choose to jump based on your settings, you can define which rows memoQ editor considers by selecting row statuses, locked or unlocked rows, and the jump direction. memoQ applies these settings to the visible rows in the grid, including filtered or sorted content.
If there's no matching row to jump to, memoQ editor lets you know so you can adjust your preferences.
Here you can:
-
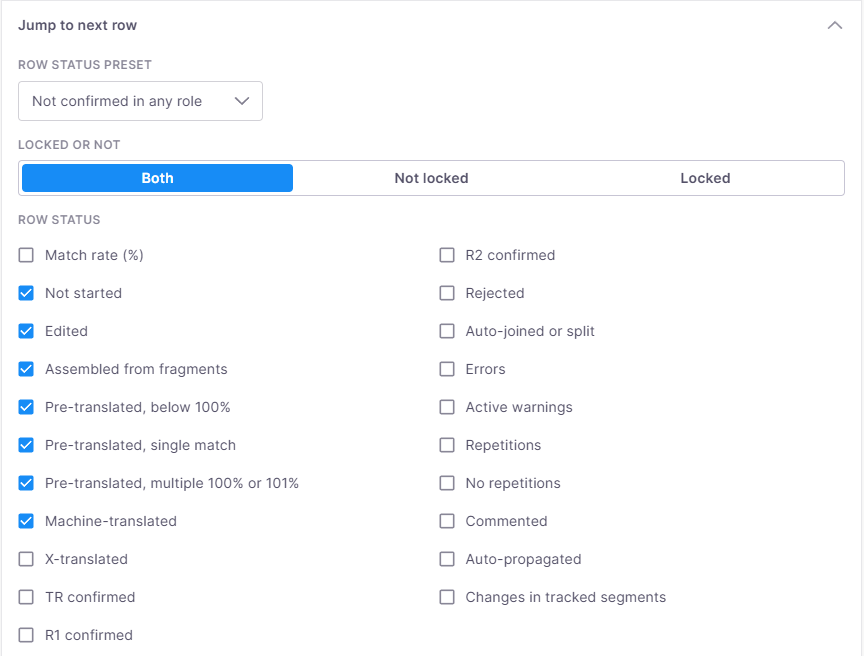
Start with selecting Row status preset to filter rows by their status and settings assigned to it.
You can use a predefined presets such as Not confirmed in any role, Confirmed by TR or R1 or R2, Pre-translated, Match rate (%), Errors, Repetitions, Locked, or Not locked. To include all rows, select Any row (set as default).
-
Decide which rows memoQ editor can jump to - Locked rows, Not locked rows, or Both (set as default).
-
Select Row status – this section changes dynamically based on your Row status preset choice.
For example, if you chose Not confirmed in any role as a preset, the Rows status section shows row statuses assigned to this preset like Not started, Edited, Assembled from fragments, or Machine-translated etc.
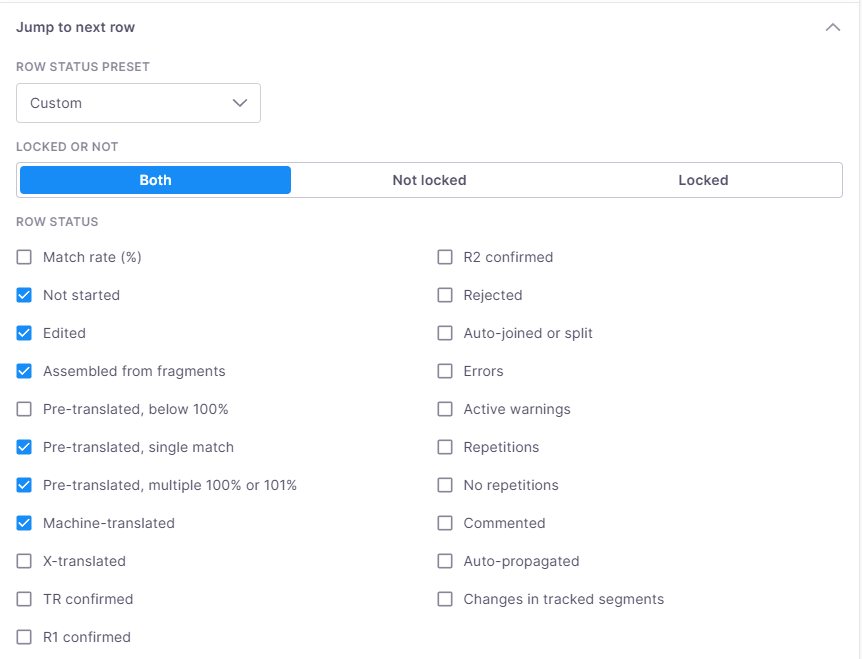
If you don't need one of them and want to turn it off, the preset automatically changes to Custom allowing you to modify selected preset.
-
In the After you confirm, jump to decide whether memoQ editor jumps to:
-
Next row (set as default)
-
Next row based on the above settings - settings from the Row status preset, Locked or not, and Row status sections.
-
Don't jump - the active segment won't change after confirmation, and you will stay on the current row.
-
-
In Jump direction decide whether memoQ editor should jump upward or downward.
-
You can also reset your settings to default at any time.
When you finish
After modifying settings, click Apply to save your changes.