Project - Discussions
The Discussions feature provides topics that team members can use to communicate. If the feature is enabled, translators, reviewers, and project managers can start topics about projects, documents, segments, terms, term bases, or about anything in general.
This page shows topics about the project, documents in the project, or segments in the project's documents.
How to get here
- Log in to memoQweb as an administrator or a project manager.
- On the Active projects list, click a project.
- At the top of the screen, click the Discussions tab.
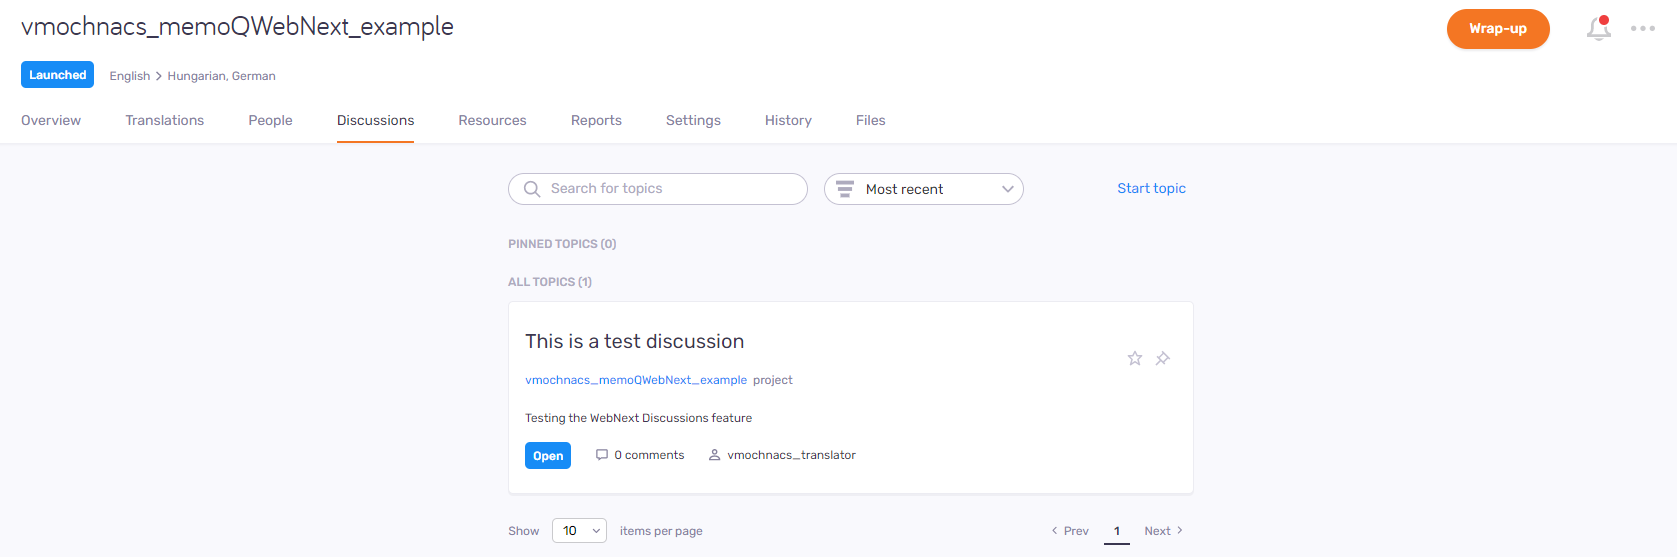
What can you do?
Search for a topic. Sort the list.
To search the list: Type something into the search bar above the list. Press Enter. If the text you typed can be found in some topics' summary, the list will only show those. To see the whole list again, click the X icon at the end of the search bar.
To sort the list: Click the dropdown that says Starred first, and choose from the list.
- Starred first shows starred topics at the top of the pinned and unpinned topic lists.
- Most active shows topics with the most comments at the top of the pinned and unpinned topic lists.
- Most recent shows the newest topics at the top of the pinned and unpinned topic lists.
Learn details of a topic
Under the topic summary, you can see the related project, document, segment, or term, and the issue - the question asked in the topic.
At the bottom of the topic's card, you can see the current status of the topic, with a colored background: blue is Open, green is Resolved, and White is Closed. Next to it, there is the number of comments, and the user the topic is assigned to..
Start a topic
To start a topic: Above the list, click the Start topic link.
Under Summary, enter a summary of the topic's purpose in a few words. The summary will be the topic's main identifier.
Under Issue, enter a short description of the issue.
Under Suggestion/answer, enter your suggestion for the issue, if you have one.
Under Source language and Target language, choose a source and target language from the dropdowns.
Under Assigned to, choose a user from the dropdown.
When you are done, click the Start topic button at the bottom. To not create the topic, click the Cancel link.
View discussions
To view a topic: Click the topic's summary.
To change the topic status: Click the current status. In the Topic status window, choose the new one, and click the Change button. Or, to discard your changes, click the Cancel link (or anywhere outside the Topic status window).
To return to the project overview page: Under Related project, click the project's name.
The Issue section shows the question or problem that the topic is about.
The Suggestion/answer section shows the solution that the author is proposing.
To receive emails about the topic's changes: Under the Suggestion/answer section, click the Follow button. To unfollow, click the Following button.
Check a setting in your profile: Make sure the Enable discussion-related e-mail notifications checkbox is checked in your profile's Settings page.
To star the topic: Next to the Follow button, click Make it starred ![]() . To remove the star, click Remove starred
. To remove the star, click Remove starred ![]() .
.
To pin the topic: Next to the Make it starred button, click Pin topic ![]() . To unpin, click Remove pin
. To unpin, click Remove pin ![]() .
.
To move the topic: In the bottom right corner, click the Reorder discussions ![]() icon. On the Move topic to pane, choose the new location, and click the Move button. To not move the topic, click the Cancel link (or anywhere outside the Move topic to window).
icon. On the Move topic to pane, choose the new location, and click the Move button. To not move the topic, click the Cancel link (or anywhere outside the Move topic to window).
To edit the topic: In the bottom right corner, click the Edit discussion ![]() icon. The Edit properties page opens.
icon. The Edit properties page opens.
To delete the topic: In the bottom right corner, click the Delete discussion ![]() icon. A warning window opens. Select the checkboxes, and click the Delete topic button. To keep the topic: Click Cancel.
icon. A warning window opens. Select the checkboxes, and click the Delete topic button. To keep the topic: Click Cancel.
To write a comment: At the bottom, on the Comments tab, write your comment into the text box. If needed, choose a new Status, and a username from the Assign to dropdown. To post the comment and apply the changes: Click the Add comment button. To discard the comment and the changes: Click the Cancel link.
To delete a comment: Click its Delete comment ![]() icon.
icon.
To link a topic: At the bottom, on the Linked topics tab, click Link another topic. Choose a topic from the dropdown, and click the Link topics button. To return to the linked topics list: Click the Cancel link.
To delete a topic link: Click its Delete ![]() icon.
icon.
To manage topic permissions: At the bottom, click the User Access tab.
To change the topic's permission type: Click the Change permission type link. Choose the new type and click the Save button. To discard the changes: Click the Cancel link.
To change a user's permission: In the user's row, click the Edit options ![]() icon. From the dropdowns, choose the new permission and expiration date. Click the Save button. To discard the changes, click the Cancel link.
icon. From the dropdowns, choose the new permission and expiration date. Click the Save button. To discard the changes, click the Cancel link.
To delete a user permission: In the user's row, click the Delete ![]() icon.
icon.
To add a user or group with permission: At the bottom, click the Add users/groups link. From the dropdowns, choose a user or group, their permission, and its the expiration date. Click the Add user/group button. To discard the changes: Click the Cancel link.
To see the topic's history: At the bottom, the History tab lists the topic's changes and actions, sorted by date.
To return to the topic list: Above the topic's details, click the Back to topics link.
To reach these actions: In the top right corner, click the More options ![]() menu.
menu.
- To download completed documents from the project: Click Export project. Your browser saves the files in a ZIP package into its regular "Downloads" folder.
-
To connect the project with a customer portal request: Click Link to customer request. In the Link to customer request window, choose the request from the dropdown.
To continue: Click the Link project button. To discard your changes: Click the Cancel link.
Works only if there are requests not linked to projects on the memoQ TMS. Else, the dropdown is empty. Learn more about requests here.
-
To archive a project and move it into the Archived projects page: Click Archive. To open an archived project, you need to restore it from the archive.
On the Archive project window, set the file name template. To insert a placeholder: Click the Insert link, and choose a placeholder from the list.
To continue: Click the Archive project button. To discard your changes: Click the Cancel link.
-
To remove the project and move it to the Projects in trash page: Click Move to Trash. There, you can restore or permanently delete the project.
There is no confirmation window: When you click Move to Trash, the project is removed, and you return to the Active projects list.
-
To open the project in the memoQ desktop app: Click Continue in memoQ.
To create a local copy of the project for working with its content: Click the Check out project button. In memoQ, the Project home - Translations tab opens.
To open the online project for management: Click the Manage project button. The memoQ online project - Translations tab opens.
When you launch an online project, you start its notification chain: memoQ TMS sends an initial e-mail to all participants. The e-mail contains details about accessing the online project. Later, when there is a change in the workflow status of a document, memoQ TMS sends further e-mails to the participants and the project manager.
To launch a project: In the top right corner, click the Launch button. The word Launched with a blue background will appear under the project's name. You cannot undo launching a project.
You wrap up a project if you do not expect any more work on it. If you use project templates, you can set up automatic actions that happen when you wrap up the project.
Set up templates in the memoQ desktop app. Then, you can create projects using those templates in memoQweb. To learn more, see the topic about editing project templates.
To wrap up a launched project: In the top right corner, click the Wrap up button. To continue: Click the Wrap up project button. To close the confirmation window without wrapping up the project: Click the Cancel link. You cannot undo wrapping up a project.
To see project-related notifications and communication: In the top right corner, click the bell icon (![]() ). In the Notifications pane, you can see notifications about missed deadlines, failed automatic actions, lost content connection, etc.
). In the Notifications pane, you can see notifications about missed deadlines, failed automatic actions, lost content connection, etc.
To remove a notification from the list: Click the Dismiss link under it. To remove all notifications: Above the list, click the Dismiss all link.
To close the pane, click the X icon.