|
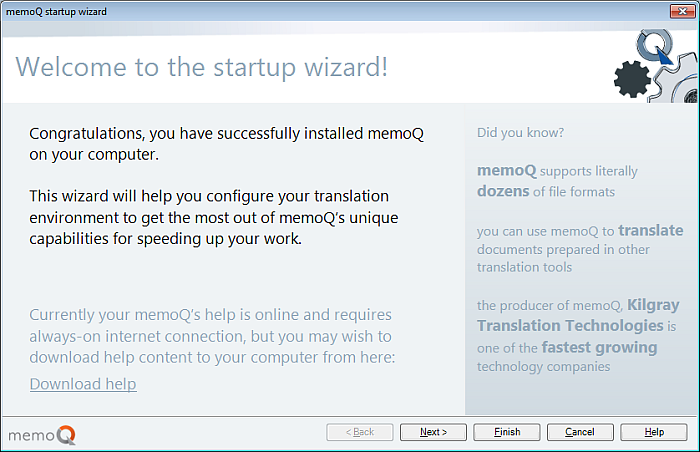
After you installed and activated memoQ on your computer, the memoQ startup wizard appears:
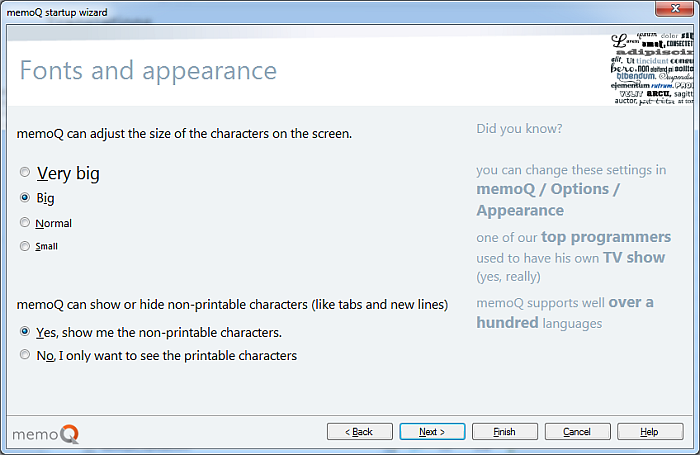
How to beginYou can always return to the memoQ Startup wizard later on. In memoQ, go to the memoQapplication menu, then click Help > Startup Wizard. The memoQ startup wizard walks you through a number of basic configuration options to set up memoQ according to your needs. StepsOn the first page of the memoQ startup wizard, you can download the memoQ Help. Click the Download help link to download the CHM file. When you have a project manager license, memoQ detects this and downloads the full memoQ Help. You cannot specify a location, the wizard downloads it to a defined location. If you run memoQ with German UI, then the German memoQ Help is downloaded instead of the English CHM file. If you decide not to download the CHM file, memoQ will automatically use the memoQ web help which is also context sensitive. You need an Internet connection to use the web help. If you have memoQ in the translator pro edition, the English CHM file is included in the installer. On the second page of the memoQ startup wizard, you can adjust the font size: choose from very big to small. Depending on your choice, the characters on your screen will be displayed accordingly. In the lower part of the page, choose whether you want to make non-printable characters like tabulators visible or not.
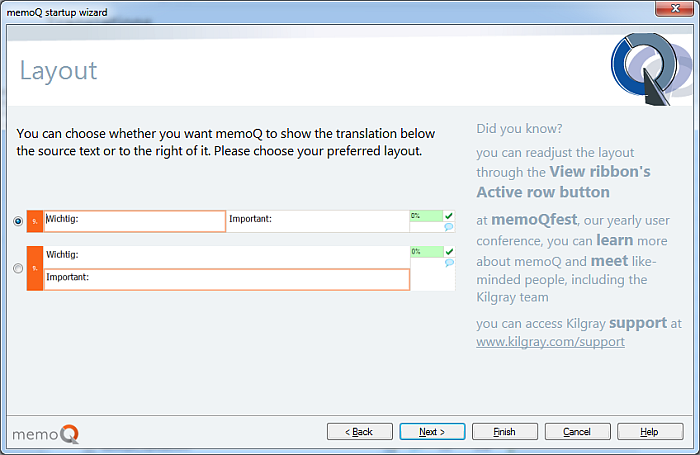
If you decide to not show printable characters, click the Non-Printing Character button on the Edit ribbon tab to show non-printable characters in the translation grid. Note: The display of 125%+ is not supported. Click Next to continue with your configurations. On the third page of the memoQ startup wizard, choose your layout:
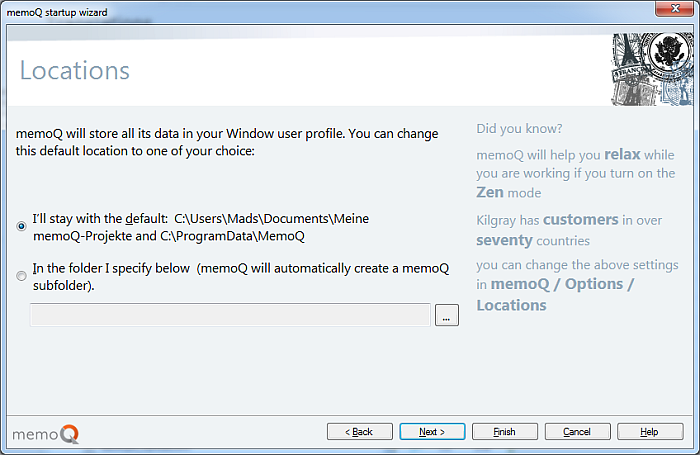
You can either show source and target in one row or the target text below the source text. You can change your configuration later in memoQ in the View menu, choose Active Row. Click Next to continue with your configurations. On the fourth page of the memoQ startup wizard, choose the location for your memoQ projects:
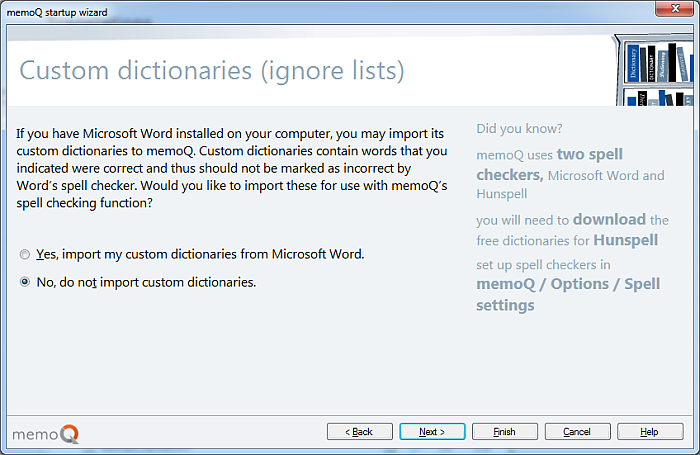
By default, memoQ stores your projects under Documents on Windows 7. You can also specify another location. Click the Important: You cannot store your resources on a network drive. In memoQ, go to the memoQ application menu, then choose Options > Options > Locations to check where you store your projects and resources. Here you can also change them later on. Click Next to continue with your configurations. On the fifth page of the memoQ startup wizard, choose your custom dictionaries for your ignore lists:
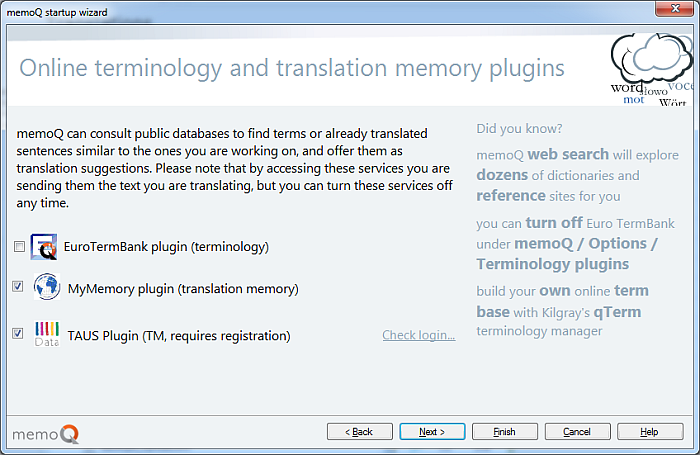
Ignore lists contain words and expressions which should be ignored during spell checking. memoQ performs spell checking on a word-by-word basis. Words, for spelling, are defined as a sequence of non-whitespace characters, surrounded by whitespace or a segment boundary. Before asking the spell check engine, memoQ first looks for the word in the active ignore lists. If the word is found in any of these, it is considered to be correct, and the spell checker itself is not invoked. You can create your own ignore lists in memoQ, or you can import custom dictionaries from MS Word (if you have MS Office installed on your computer). If you wish to import them, choose the Yes, import my custom dictionaries from Microsoft Word option. Note: Ignore lists are not available in the Settings pane of Project home. You can import custom dictionaries from the Resource console > Ignore lists. Configure whether you wish to us MS Word for spell checking or Hunspell: go to the memoQ application menu, choose Options > Options > Spell settings. Click Next to continue with your configurations. On the sixth page of the memoQ startup wizard, choose the translation memory plugins and the terminology plugin:
By default, all plugins are enabled. The EuroTermBank plugin will then provide you with terminology hits while you translate. The MyMemory and TAUS plugin are for translation memory hits. For the TAUS plugin, you need to have an account to be able to use this plugin. Click the Check login… link to check your login details. If the login was successful, you see a Login successful message. If you do not want to use the TAUS plugin because you have no account, either register for an account or uncheck this check box. You can later on make changes to your plugin settings in memoQ: go to the Application menu, then click Options > Options > Terminology plugin to enable or disable the EuroTermBank plugin. Go to the Application menu, then click Options > Options > TM plugins to enable or disable TM plugins. Click Next to continue with your configurations. On the seventh page of the memoQ startup wizard, choose the machine translation plugins:
If you do not wish to use machine translation, check the No machine translation check box. If you want to use machine translation, you need to configure the plugin or plugins you wish to use. You need to have an account for each plugin to be able to use it in memoQ. Click the Configure… link to configure a machine translation plugin. Then check the check box of this plugin to use it in memoQ. Click Next to continue with your configurations. On the eighth page of the memoQ startup wizard, choose to use Language Terminal or not:
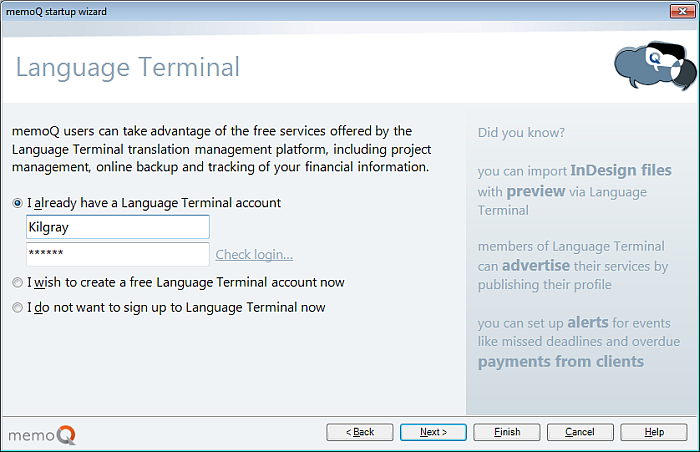
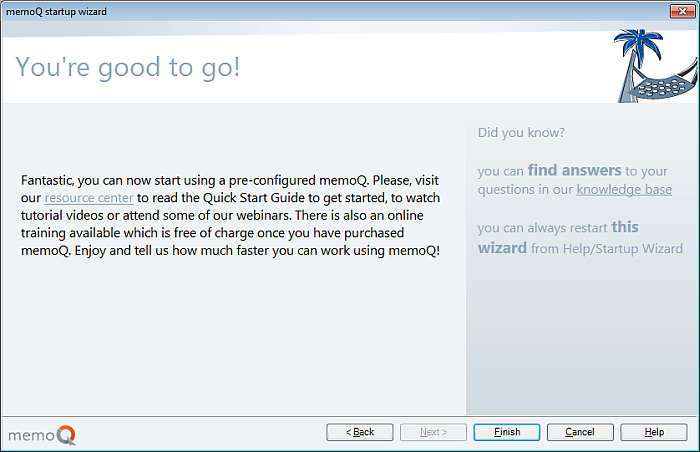
Language Terminal offers added value for translators by allowing them to track their project from quoting to invoicing, and provides valuable functionality such as facilitating the back up of projects, converting InDesign files into XLIFF, and sharing language resources. If you already have an account and were logged in to it in your previous memoQ version, memoQ then detects automatically your login details. Click the Check login… link to check your login details. If the login was successful, you see a Login successful message. You can also create a new account or log in to your account in the Application menu, then click My LT Account. Choose I do not want to sign up to Language Terminal now to proceed without creating a Language Terminal account. Click Next to finish your configurations. On the last page of the memoQ startup wizard, you find information for further resources to guides, tutorials, online training, webinars and recorded videos.
NavigationUse the Back and Next buttons to continue or to go back to the previous page in the memoQ startup wizard. Click the Finish button to skip pages in the memoQ startup wizard, and to go straight to Finish. Click Cancel to cancel the memoQ startup wizard. Click the Undo changes link to undo changes on a configuration page of the memoQ startup wizard. Note: In order to change the memoQ UI language, you need to go to the Application menu > Options > Options > Appearance. Choose the UI language from the User interface language drop-down list, click Apply, then OK. Restart memoQ.
|